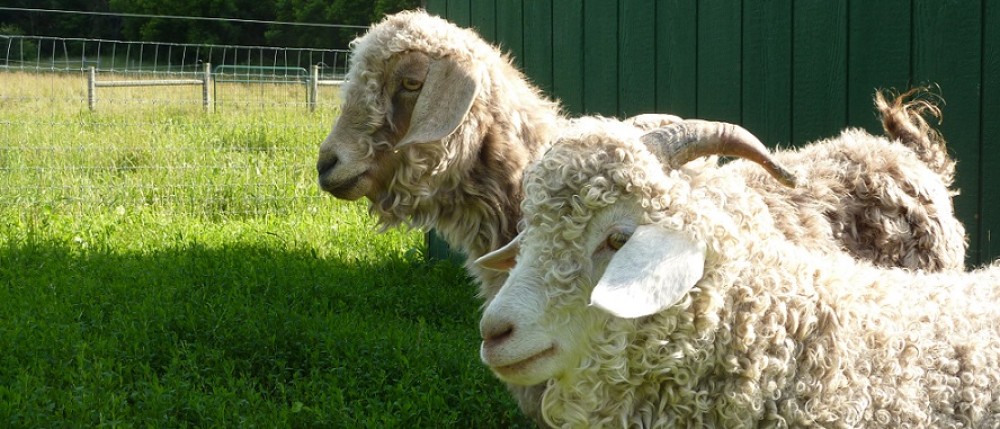
Horses have a lot of paraphernalia. To store it all, a horse owner usually has at least 1 tack box. As we have a horse, we were in need of a tack box to store at least some of our horse’s tack at the stable.
I decided to try and see if I could make a tack box instead of buying it. It turned out to be very easy with 3 easy steps (and a 4th optional step if desired).
Step 1: Search all of your property (especially outbuildings and old barns) for an old tack box or trunk and select the one you want to use.
I started by checking the piles of items in hayloft to see if there were any old trunks or crates that could serve as the starting point for a tack box. It turned out that there was a dusty, old, broken trunk in the hayloft. The base was mostly intact but the hinges were broken and had ripped off the box. I found the missing lid nearby.
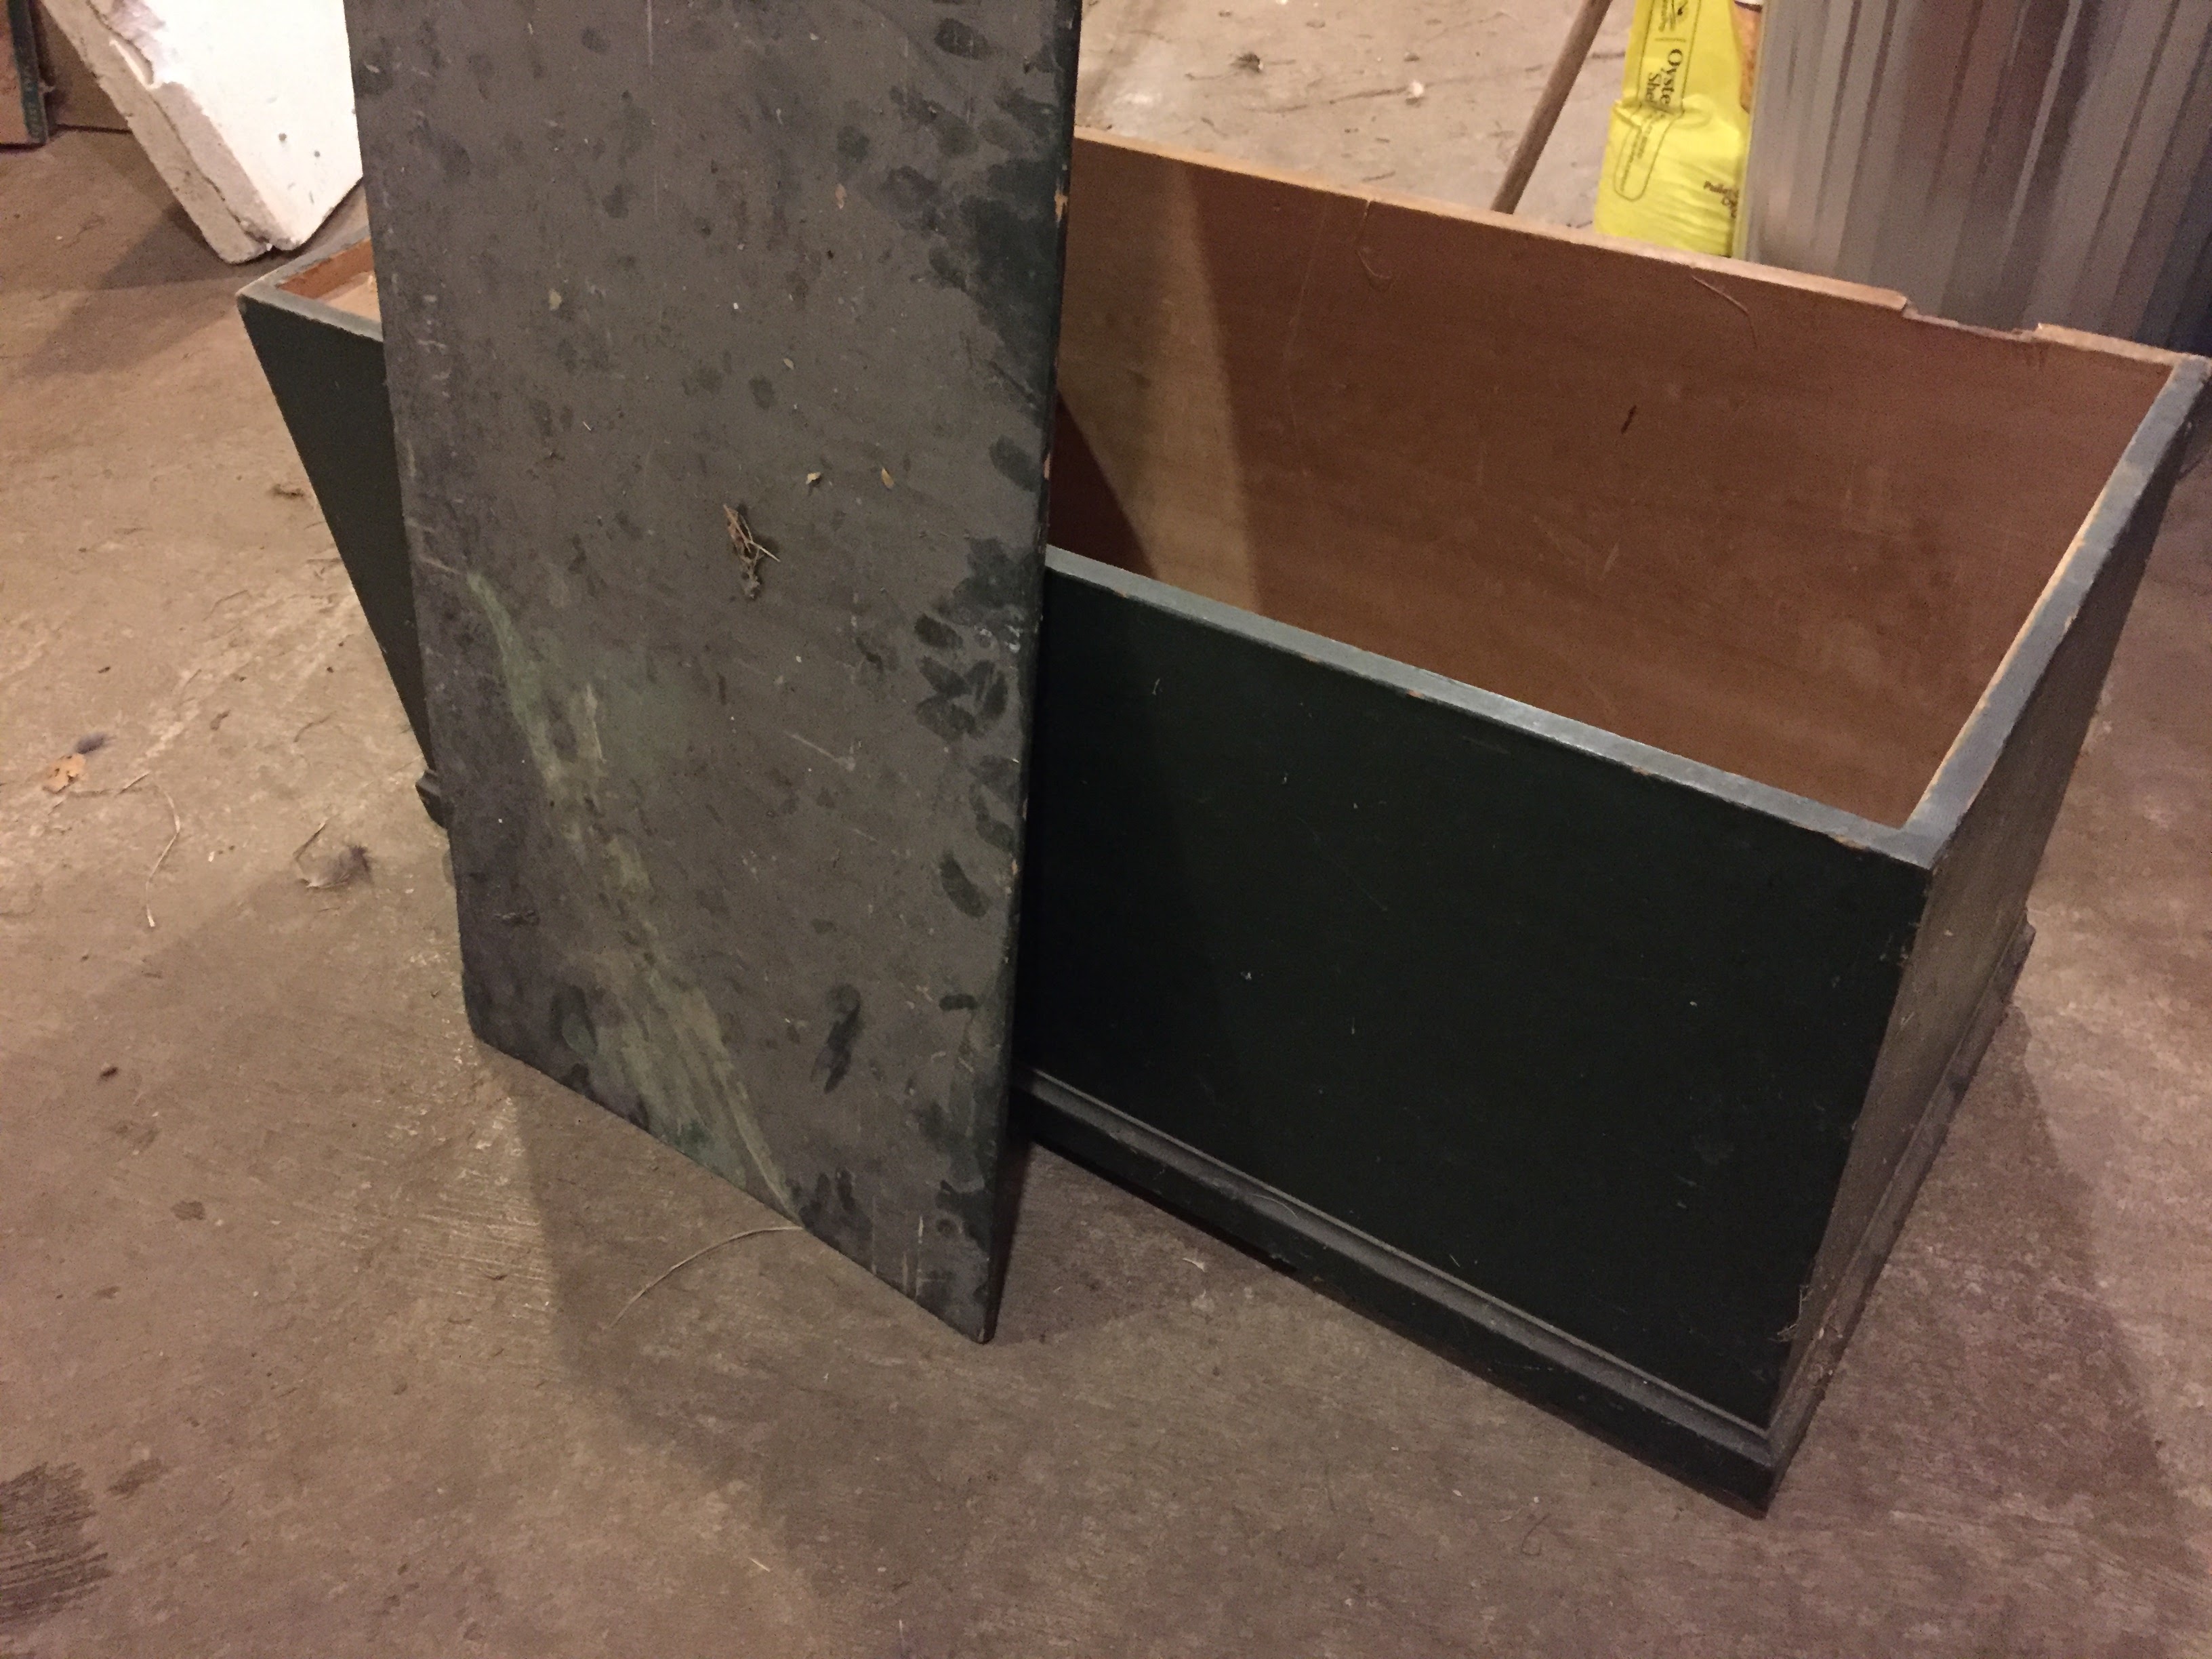
Here is the old, broken box from the hayloft.
I brought it down from the hayloft and dusted it off. There were some faded and stained portions on the exterior, but other than the broken hinges, it was overall in pretty good shape.
Now that you have your basic tack box located, it’s time to move to Step 2.
Click through for the rest of the steps.
Step 2: Paint the tack box.
To cover up the staining / fading on the exterior, re-paint the tack box the color of your choice. I chose a vibrant green (the specific color is called jungle canopy). I used an exterior paint and primer in one to both cover over any old paint and provide extra protection from the elements as the tack box will be sitting in a horse barn and exposed to lots of dust.
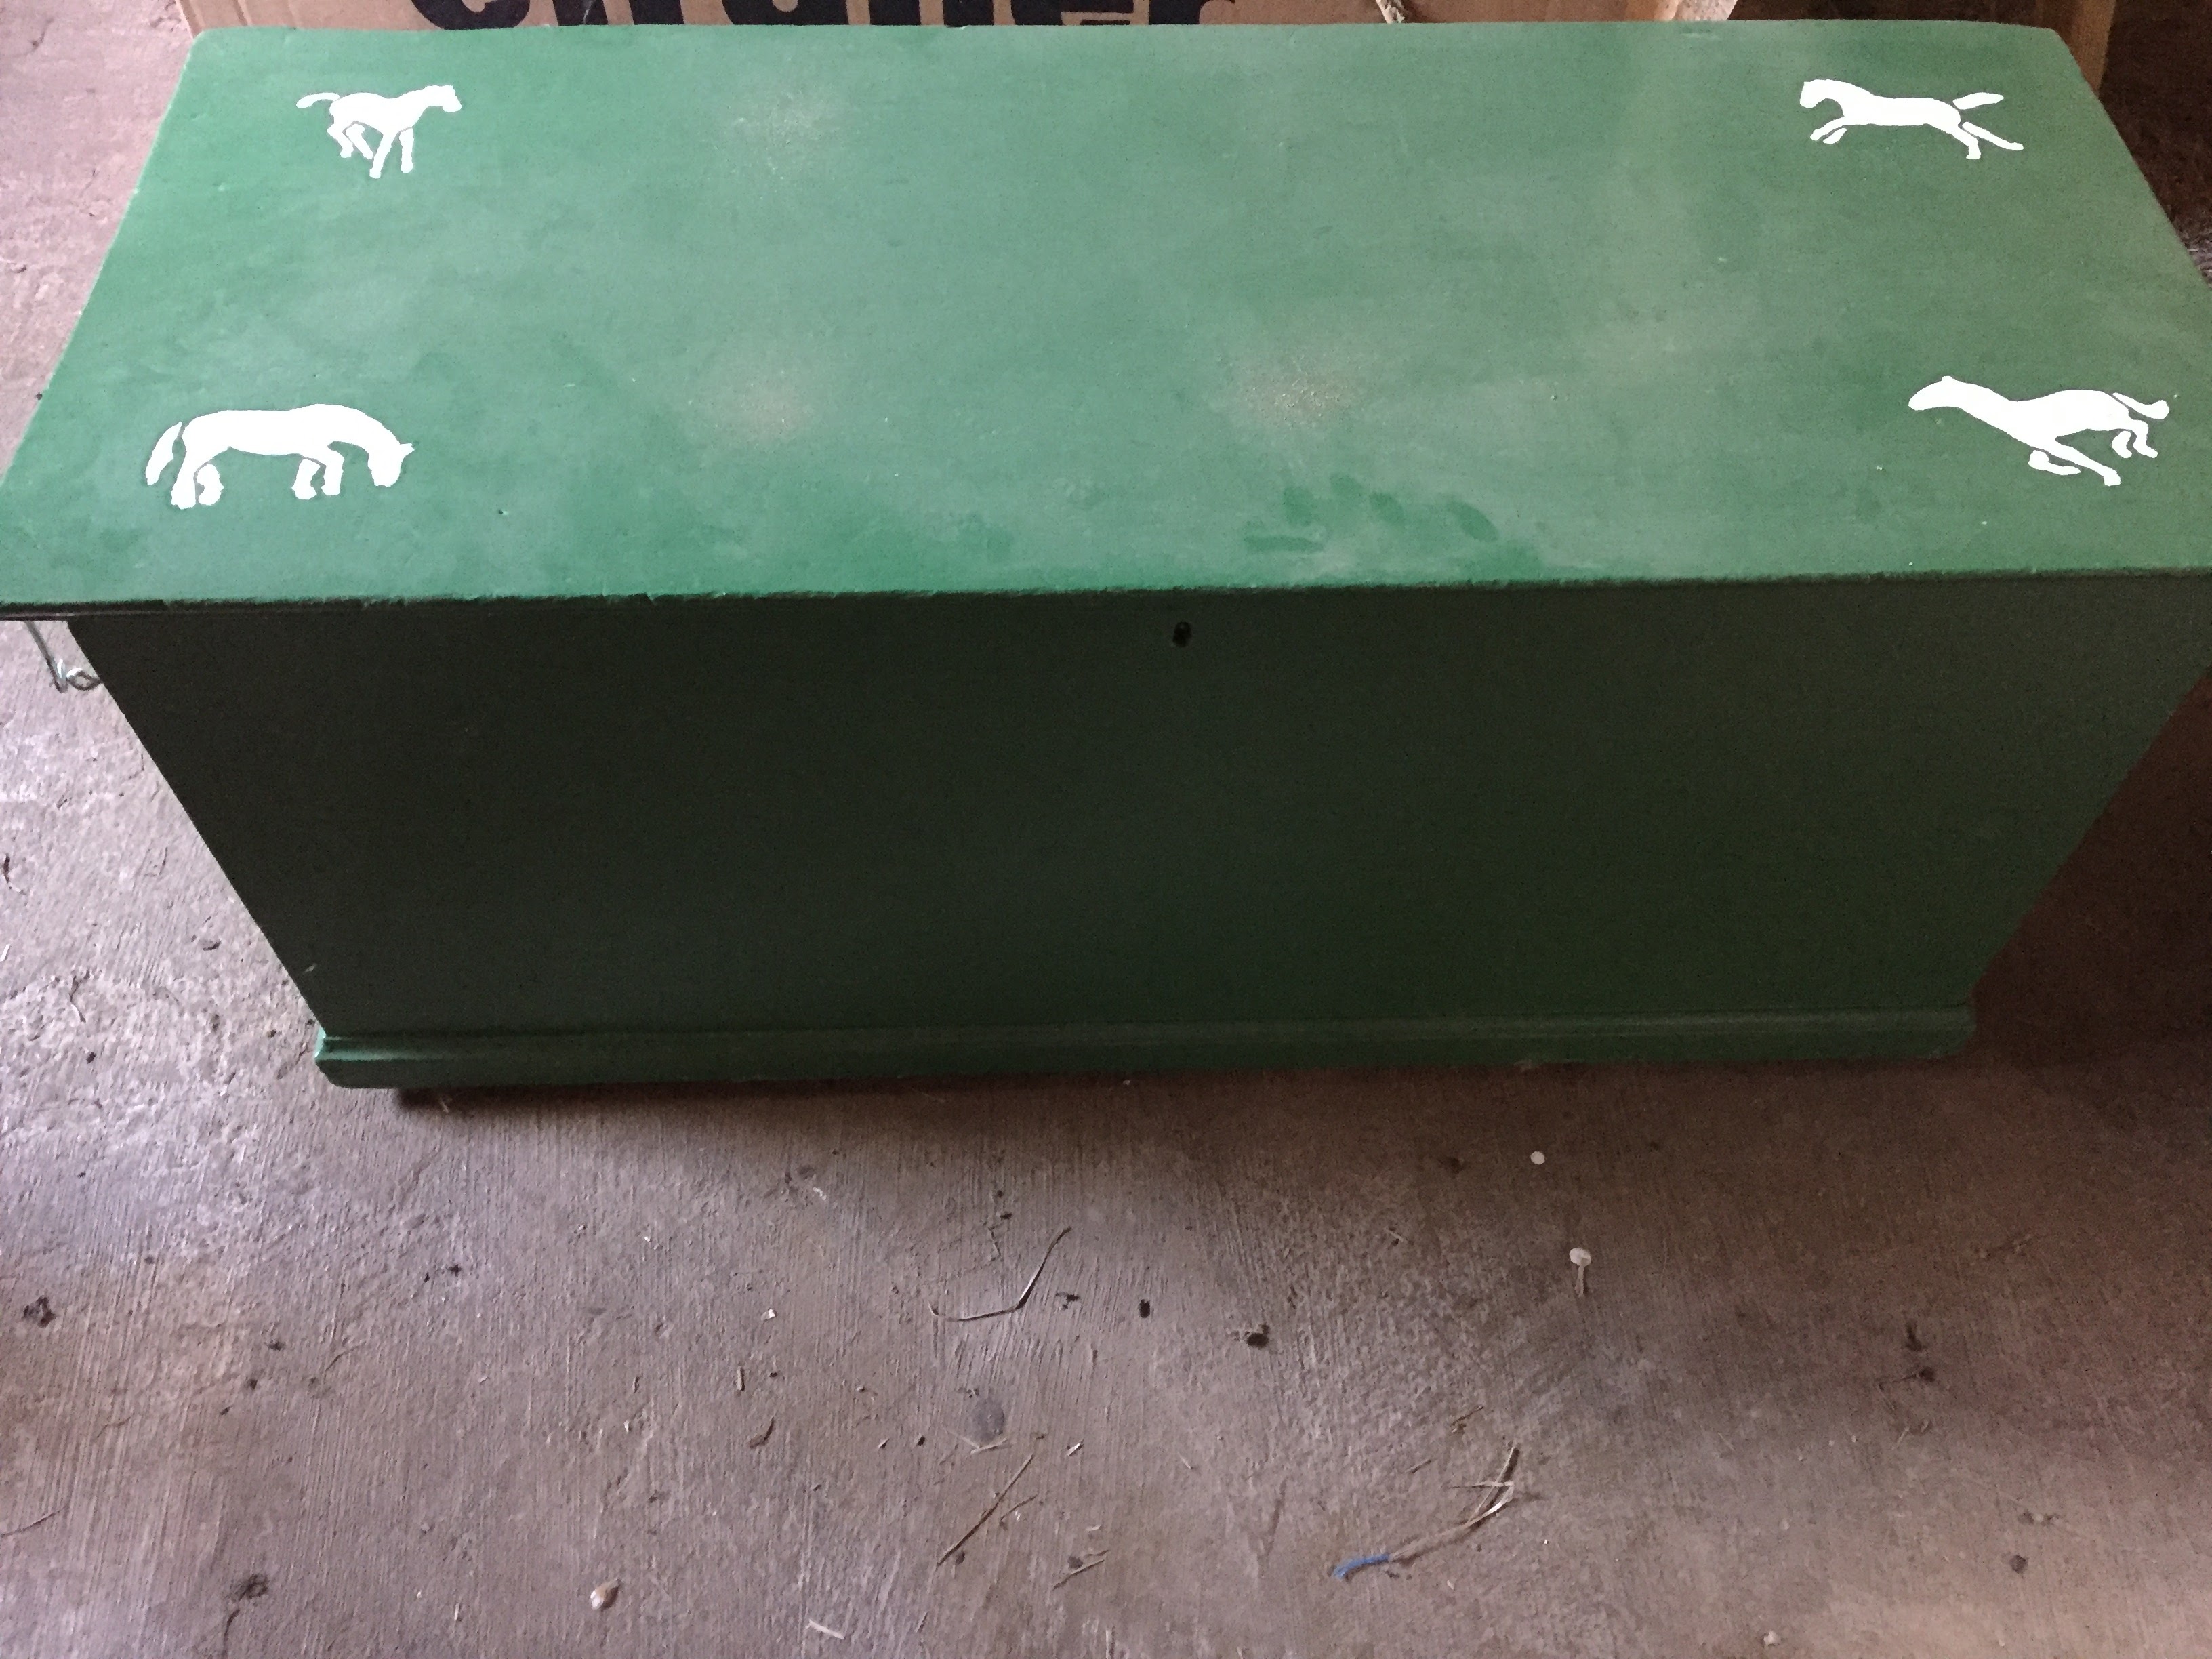
The painted tack box.
After the paint dries (following a second coat if needed), move to step 3.
Step 3: Add new hardware (including hinges and handles).
With the tack box already re-painted, you can now add the necessary hardware – note that adding the hardware after painting is easier because it means you don’t need to cover or avoid painting the hardware while painting.
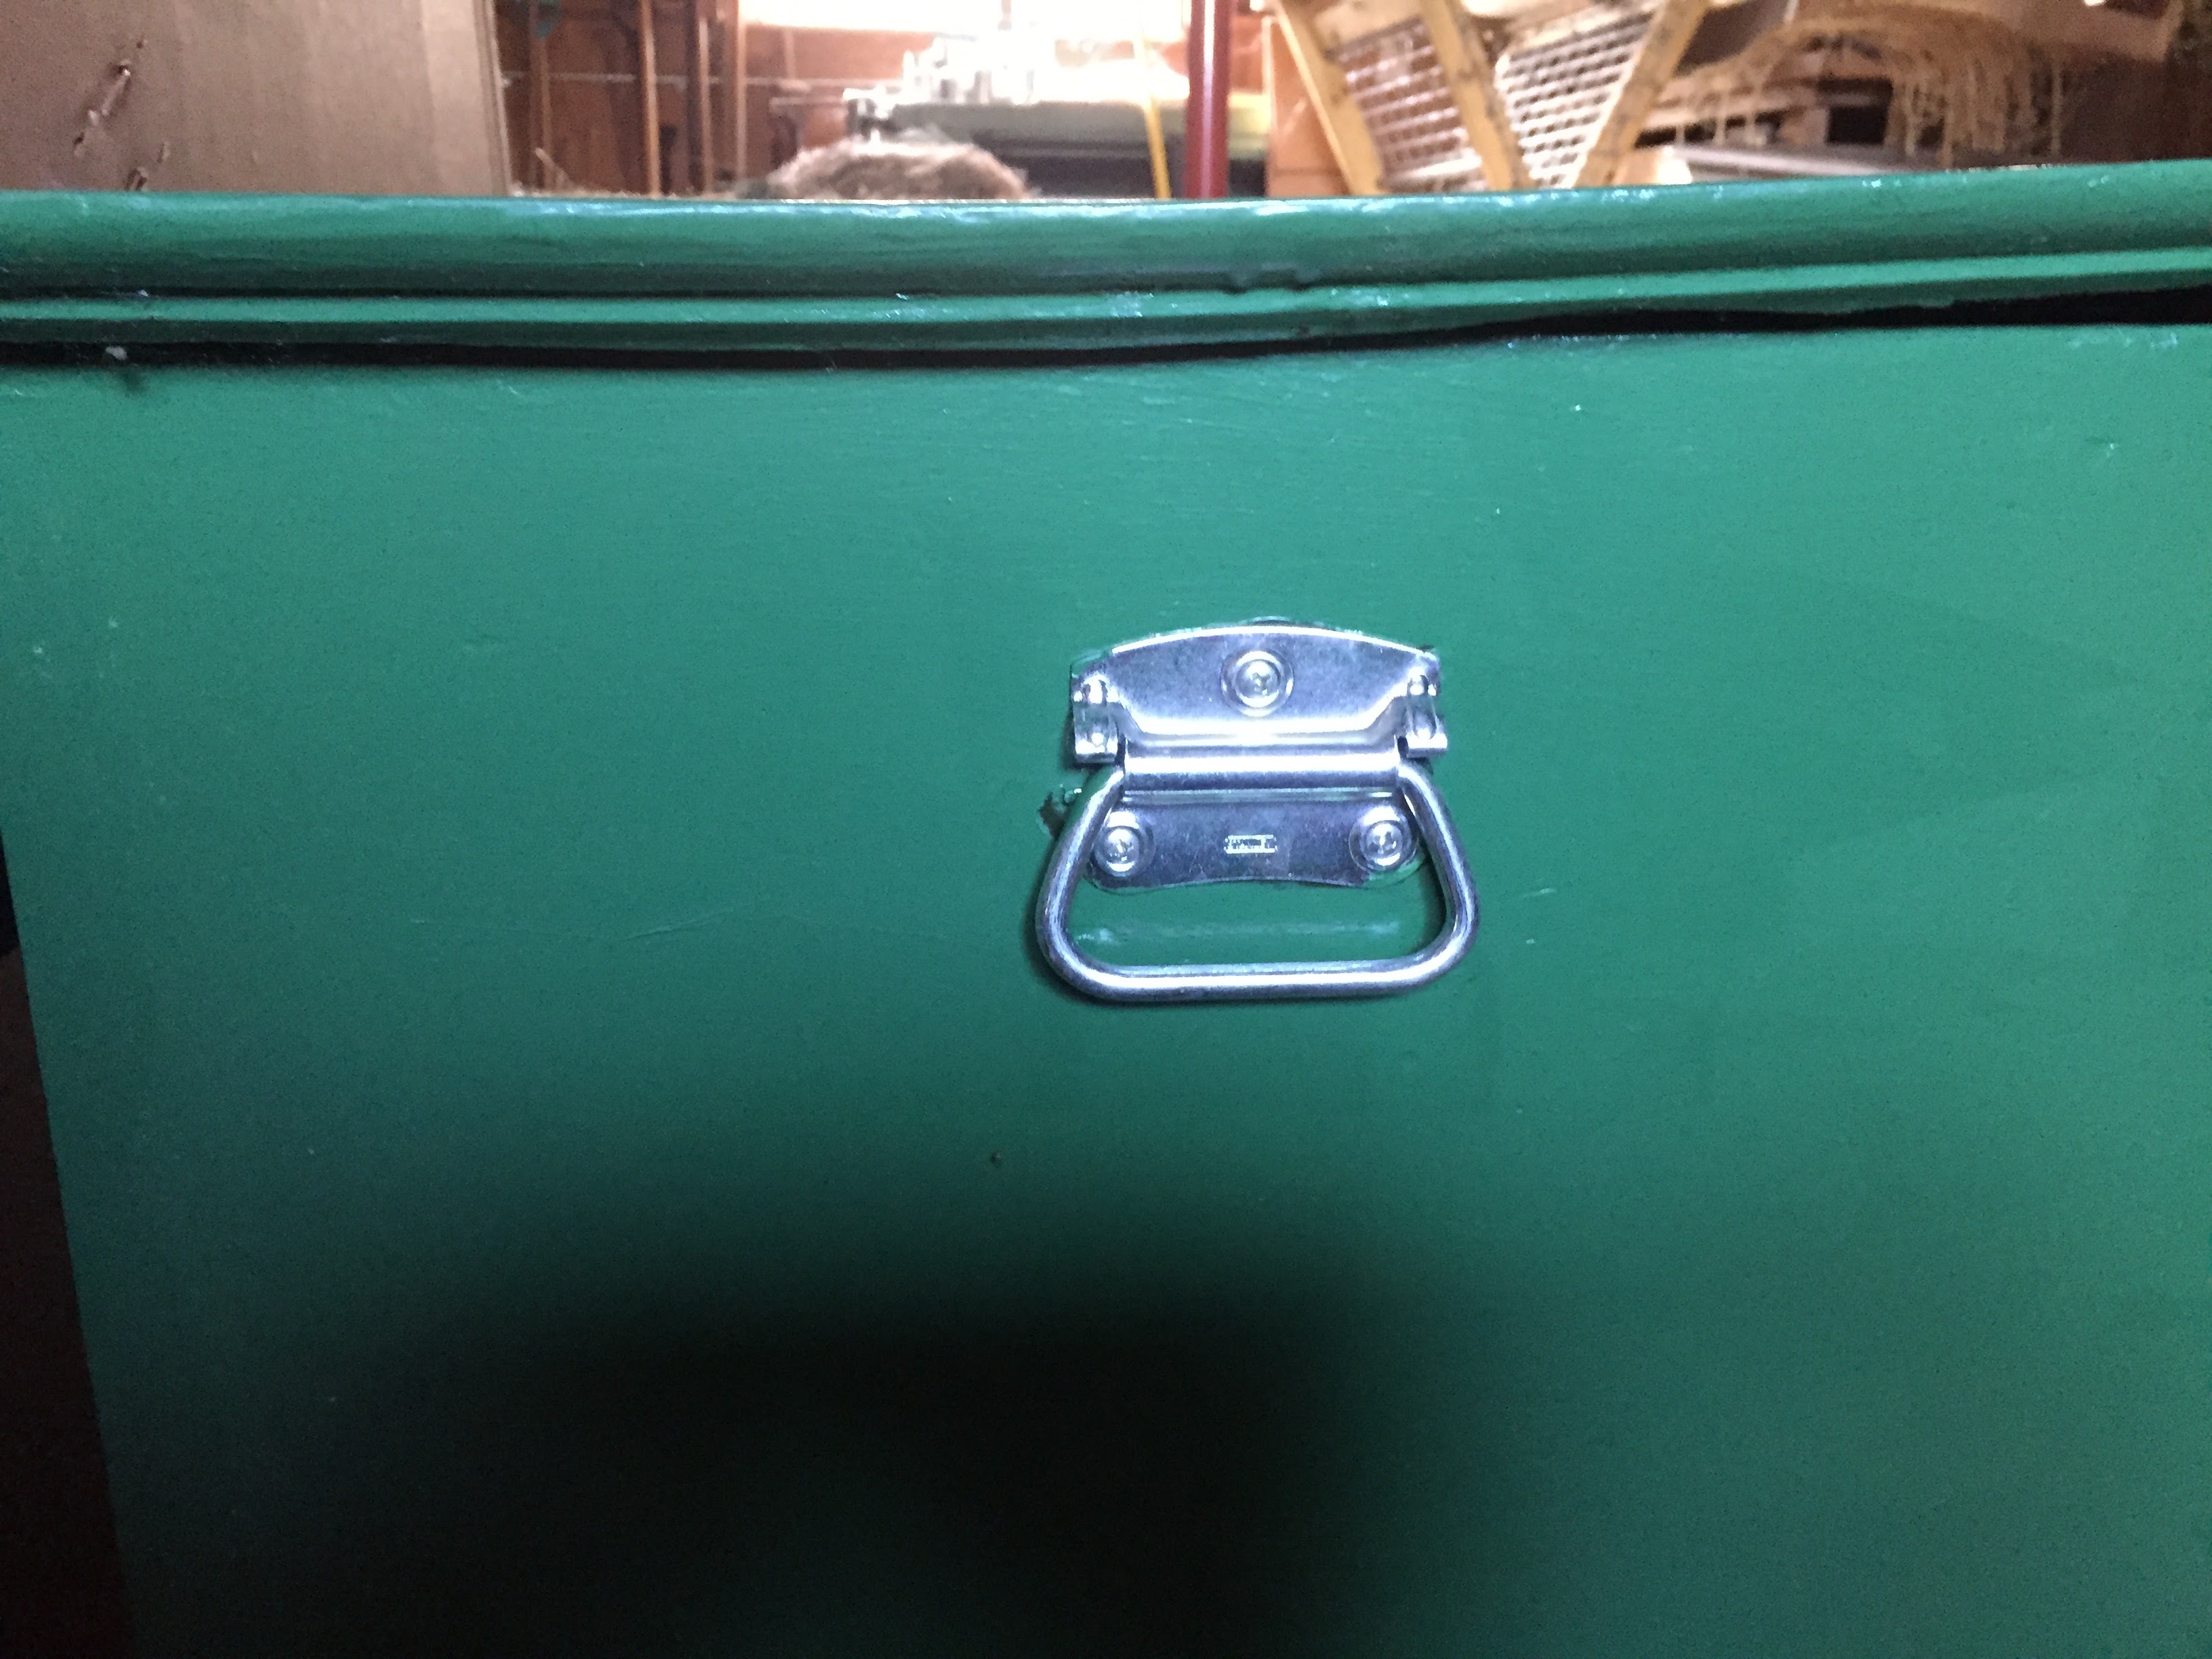
A new handle on the tack box.
I added 2 silver-colored handles on the sides for easy lifting. I also added 2 brand new silver-colored hinges and moved the hinge locations along the lid. I was also able to re-use one of the old hinges so now the lid has 3 hinges instead of only 2.
Finally, I added a couple eyelets and a small rope to keep the lid from opening too far.
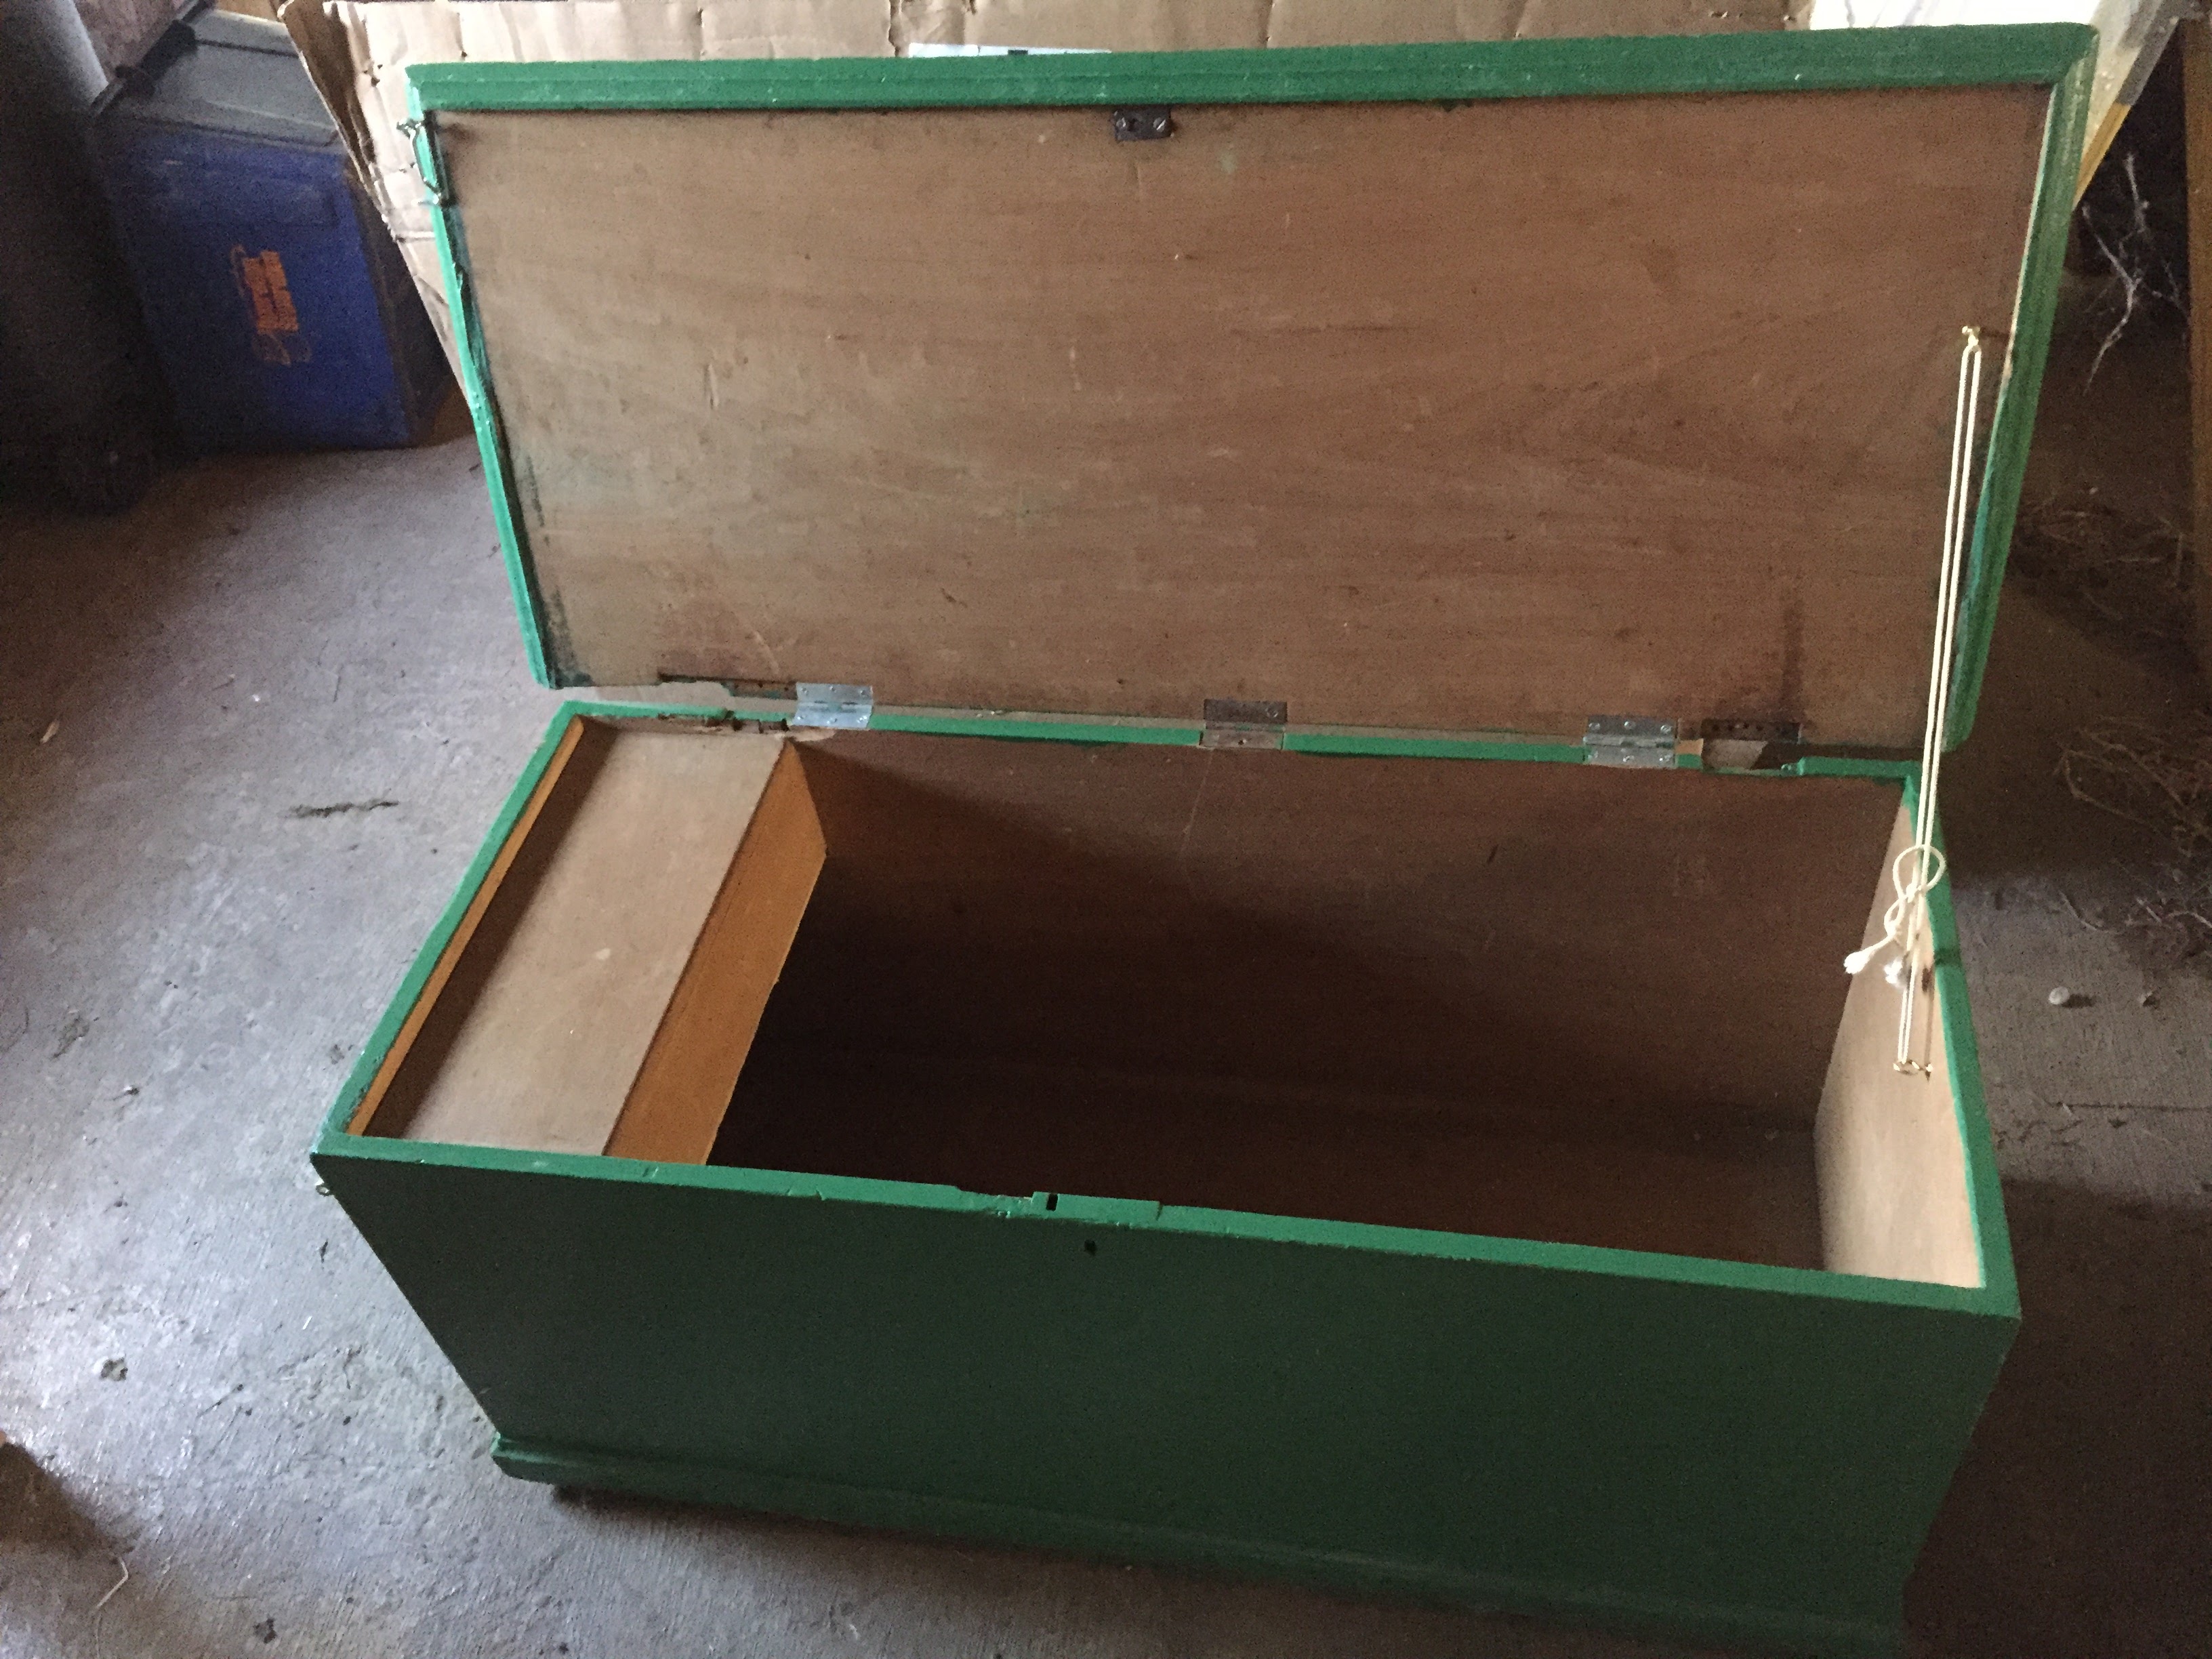
The completed tack box.
At this point, the tack box was fully functional and could be used as is. However, it is more fun to add some optional decorations.
Step 4 (Optional): Decorations
As it will be used as a tack box – I decided to decorate it with horse pictures on the top. I used a pack of horse stencils and hand-painted horses in different poses on the top of the box.
After painting the stencils, I had to outline the resulting horses with additional green paint to help makes the outline of the stencil more crisp.
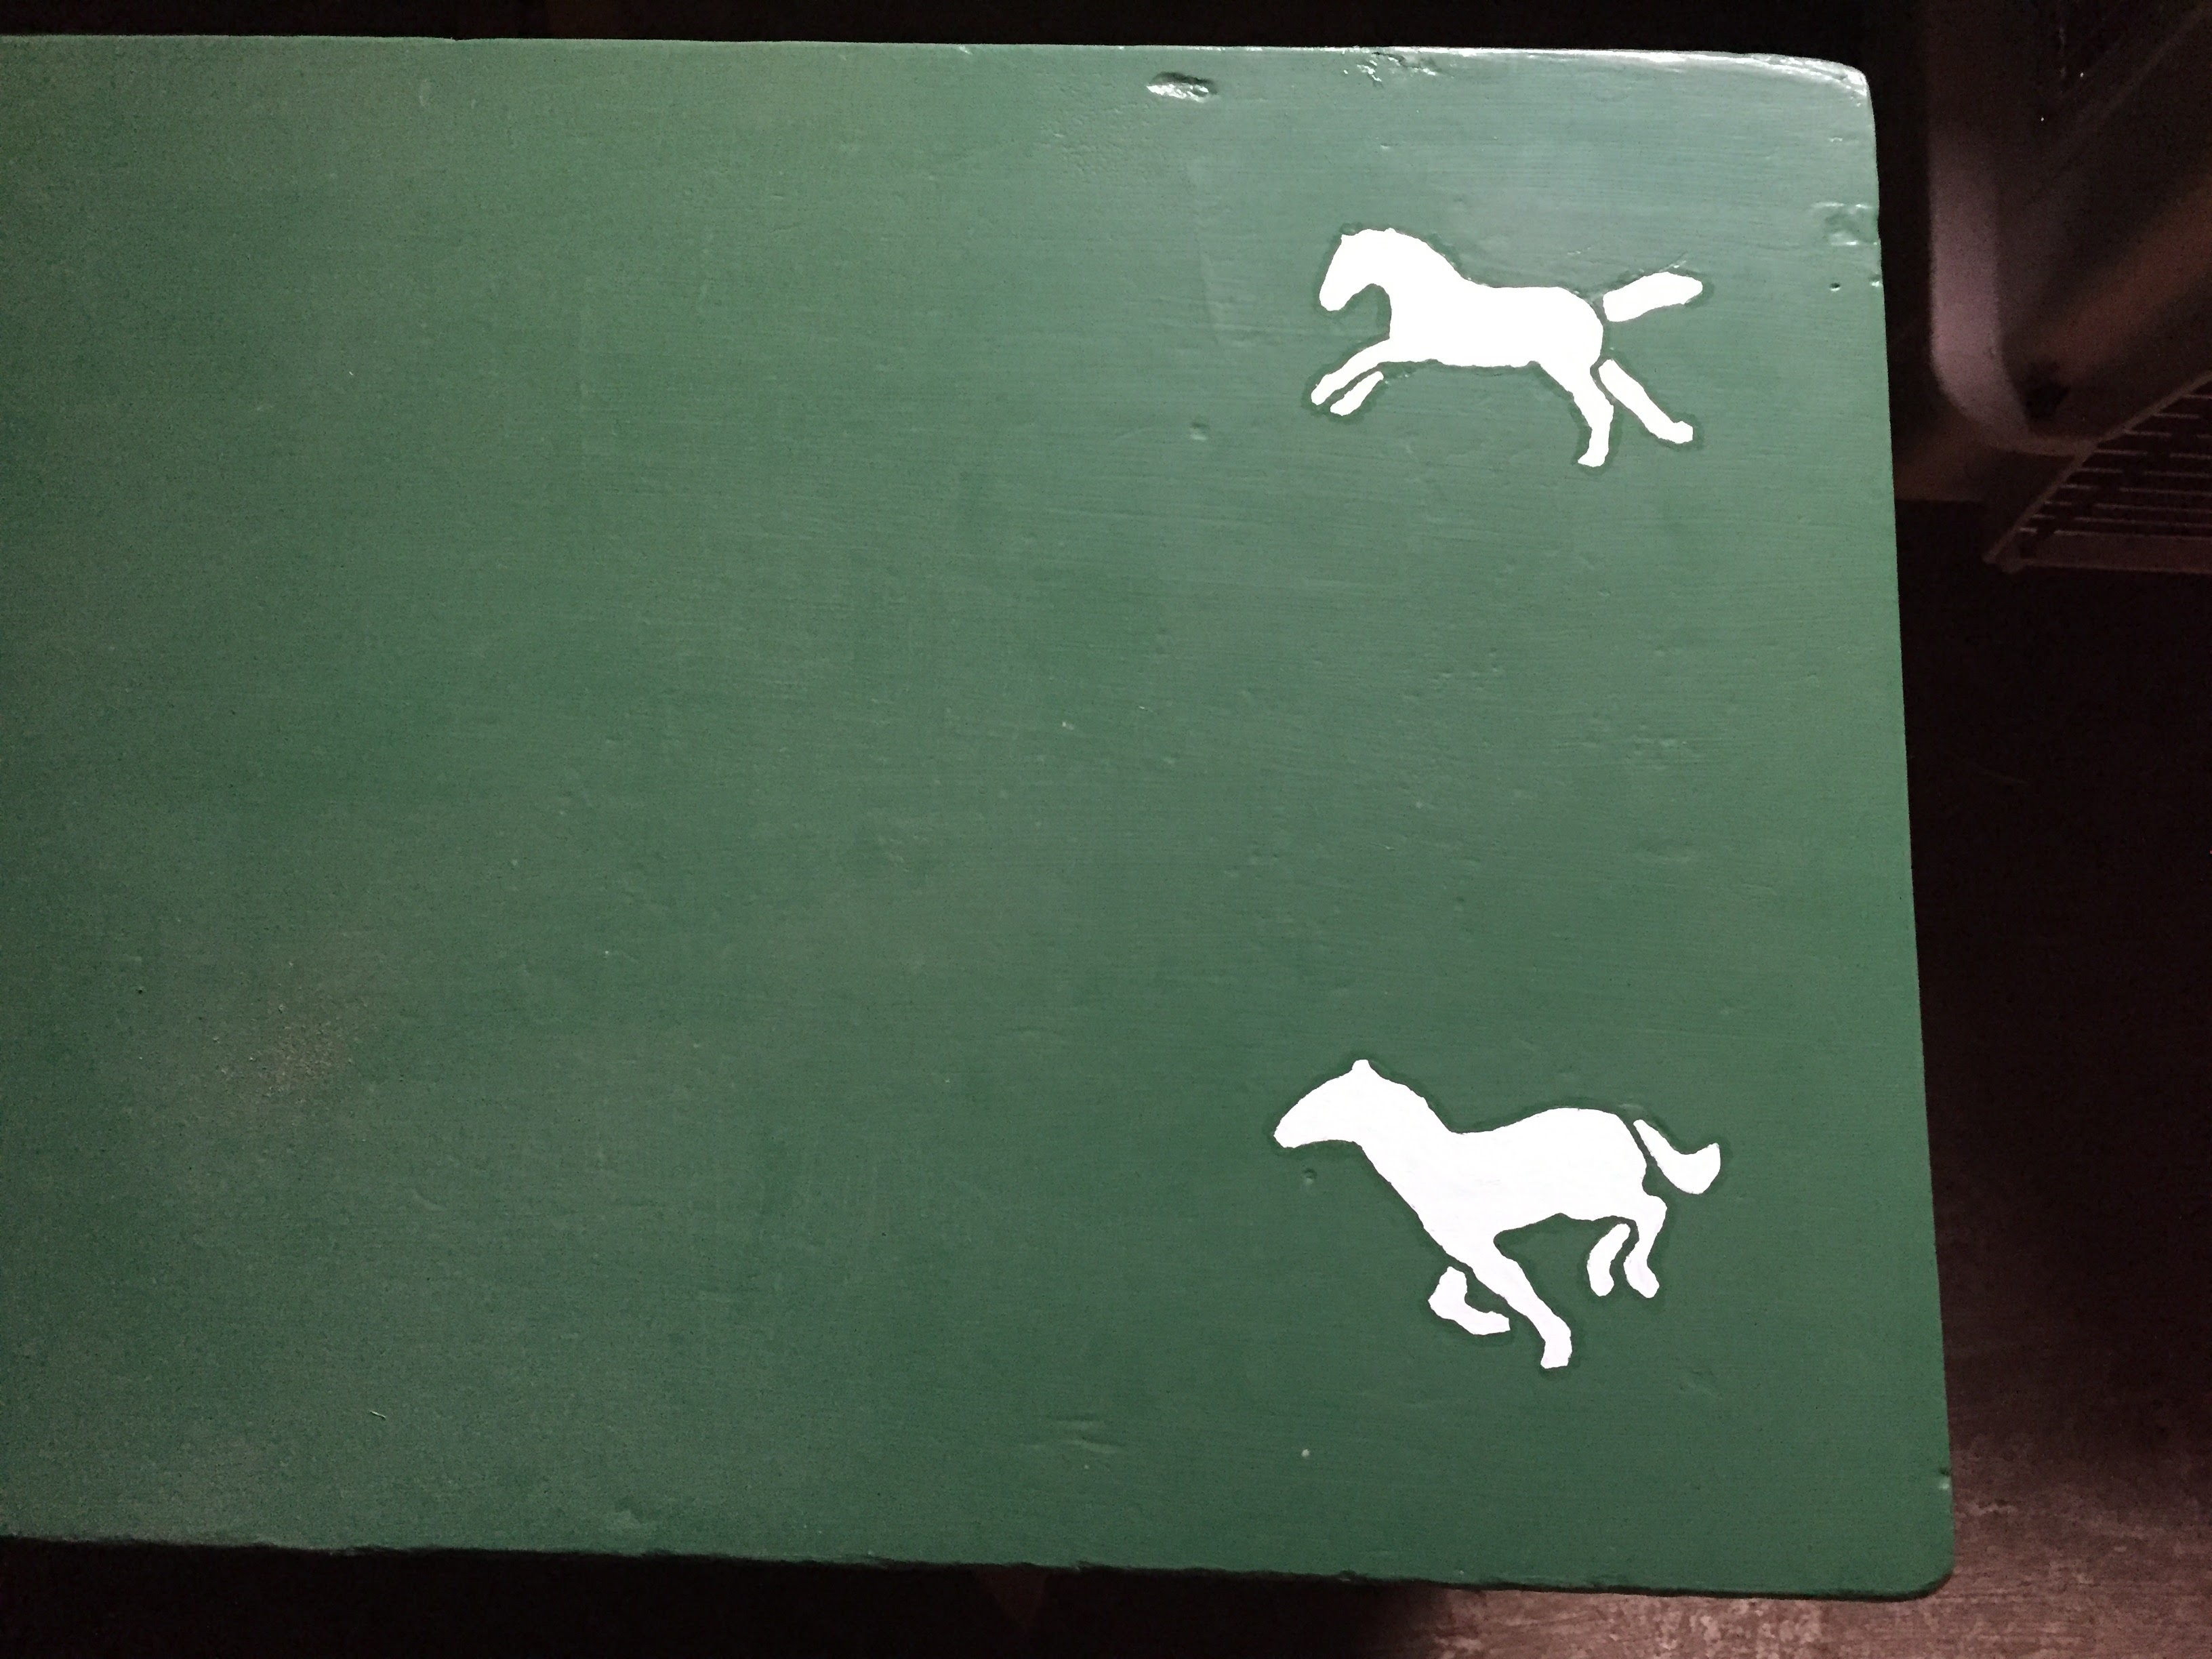
Horse stencils on the tack box.
Here is a full view looking down at the top of the tack box.
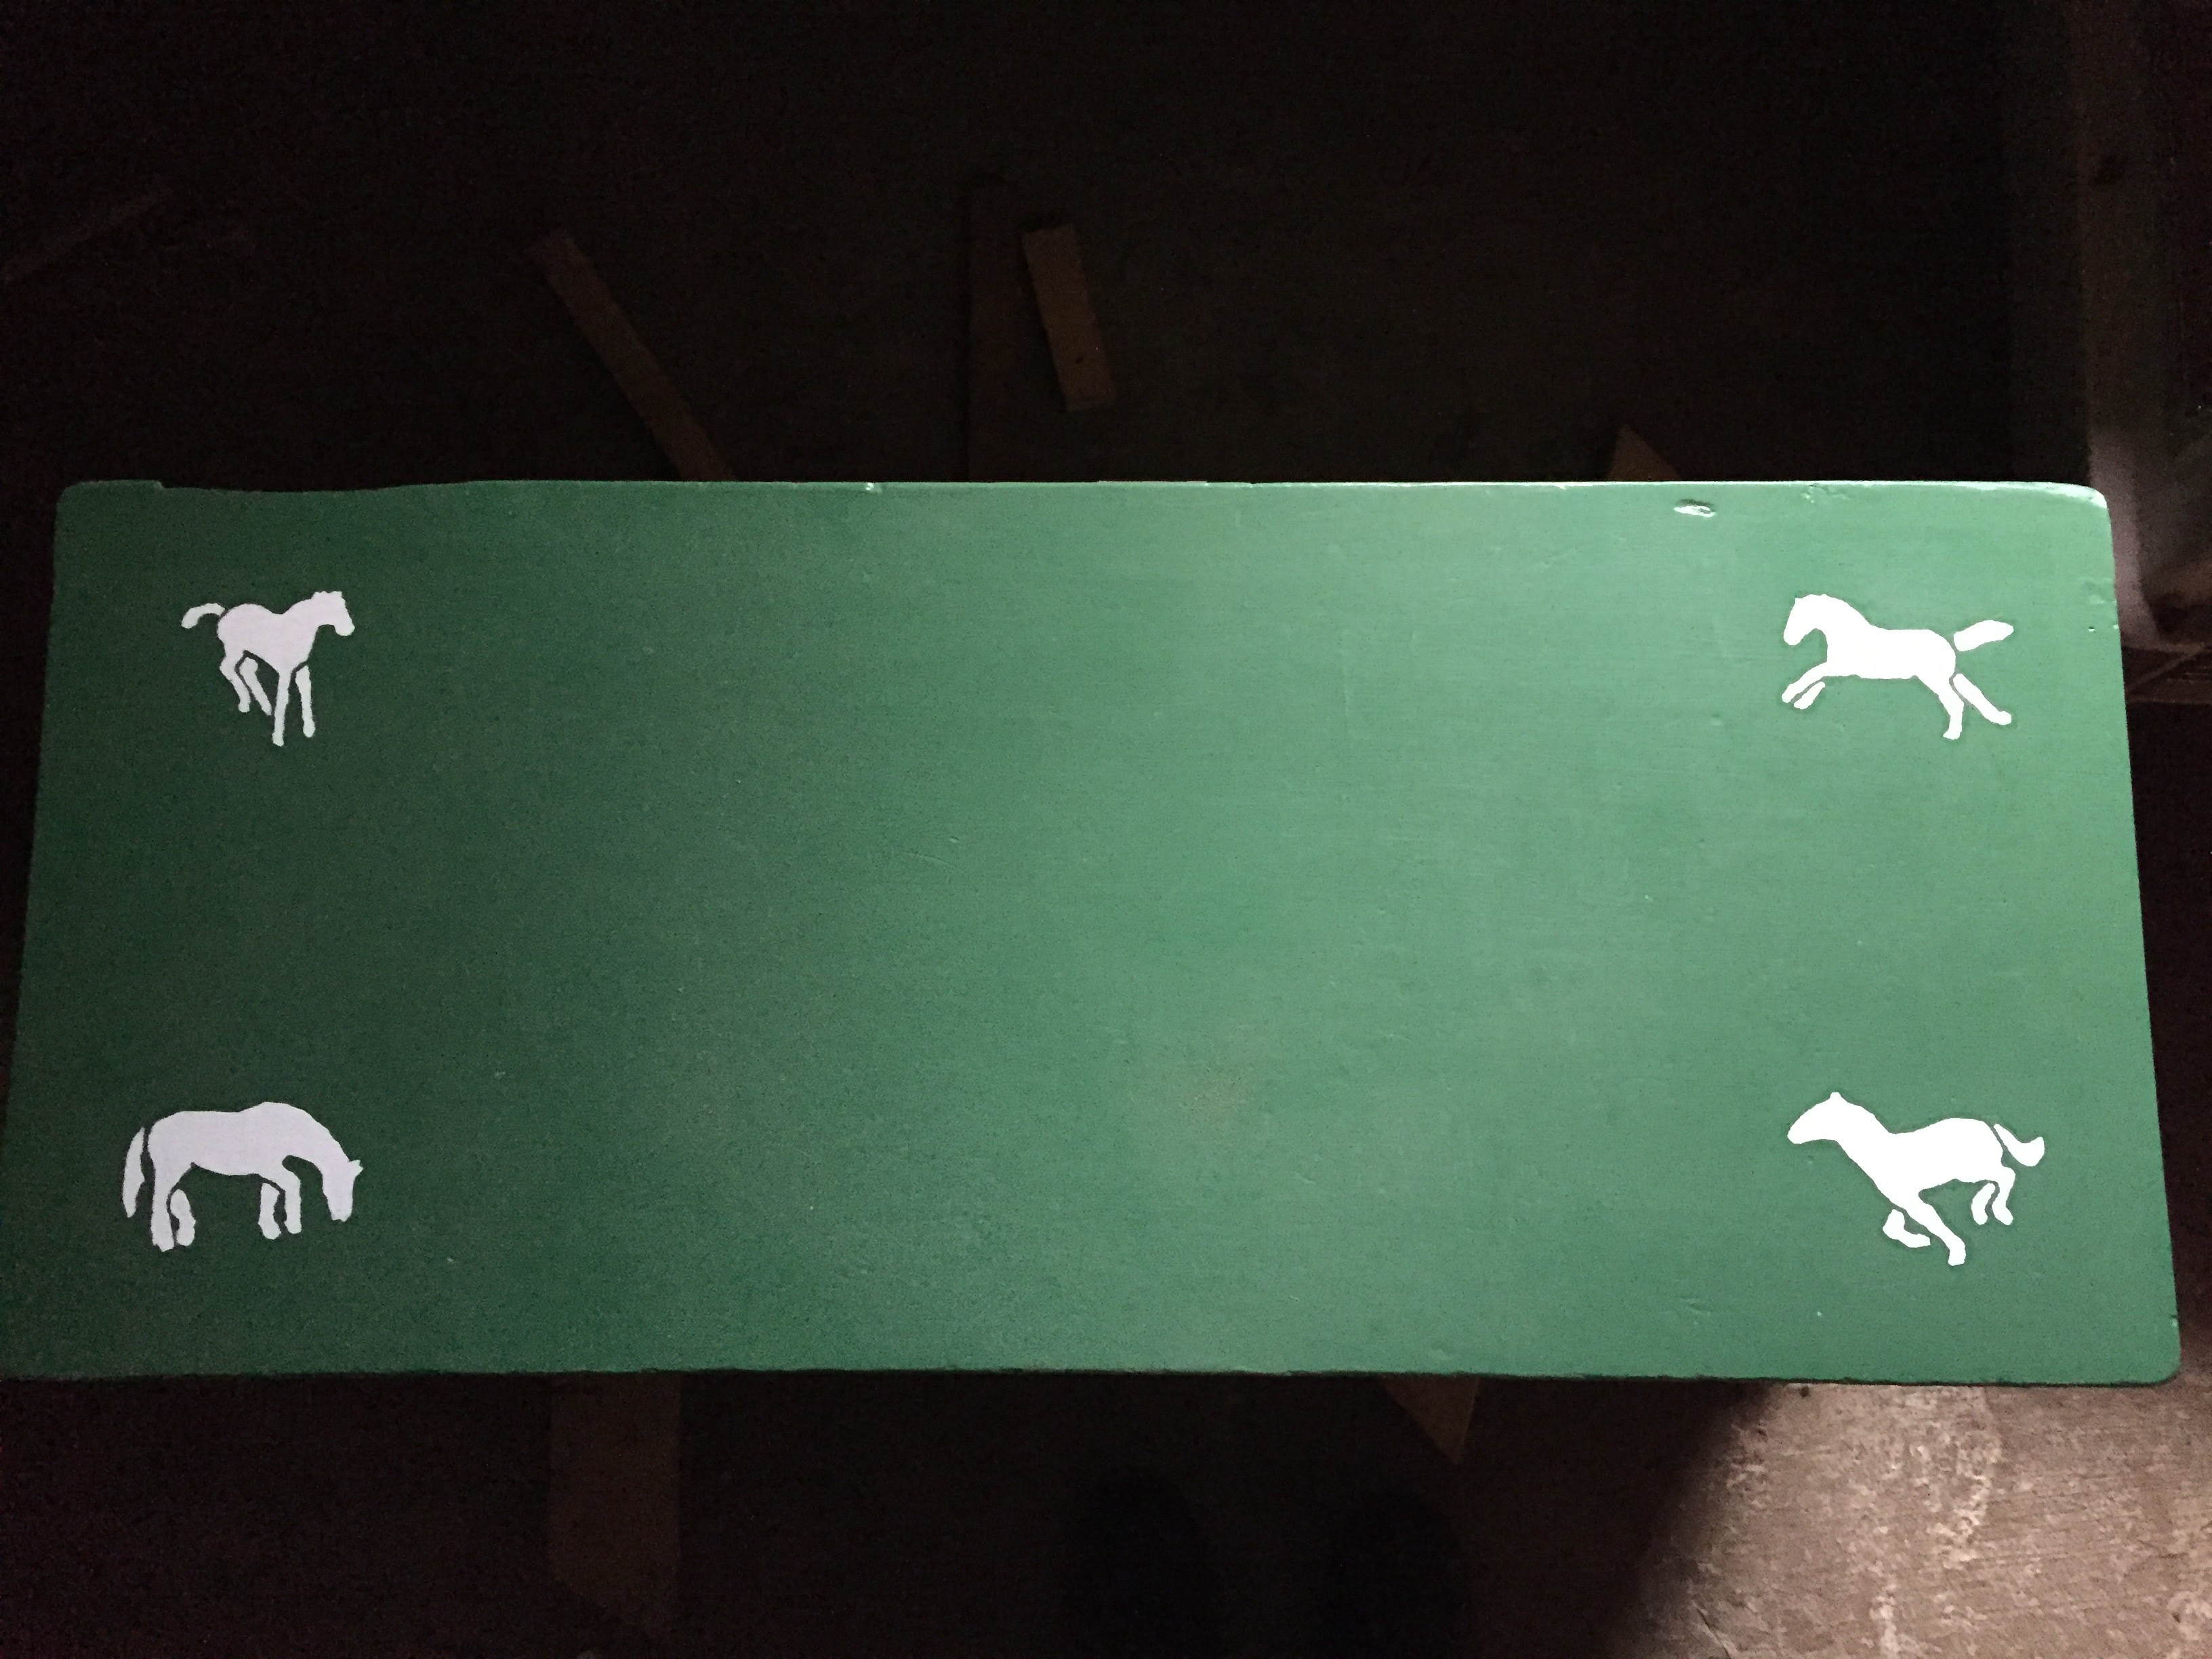
Full top of the tack box.
The tack box turned out very well and is now in use at the stable.
I recently bought a horse property here in Santa Fe, New Mexico and we do, in fact, need a couple tack boxes. Not sure if I can build one but I’ll give it a try! Thanks for the guidance! 🙂