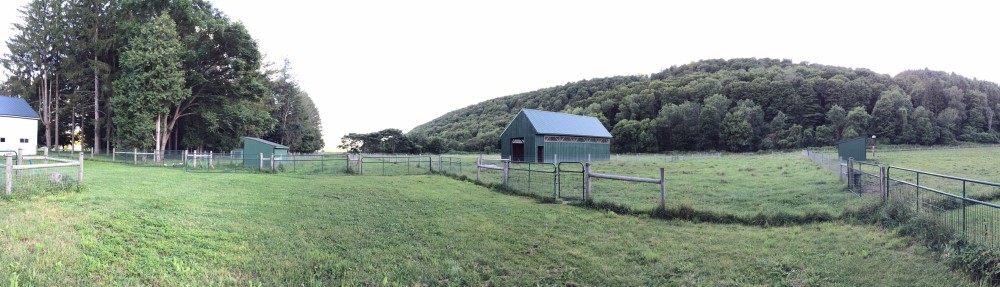
Cows (2021 Edition)

Consistent with past summers (2015201620172018, 2019 and 2020), we are currently hosting yearling heifers on our pastures over the summer. Different from prior years, we are only hosting 2 instead of the typical 3.

This year’s heifers out in the field.

The farmer only had 1 heifer born last year at his farm. He purchased a second heifer as he needs a few heifers every year to maintain his herd.

Here’s Snappy.

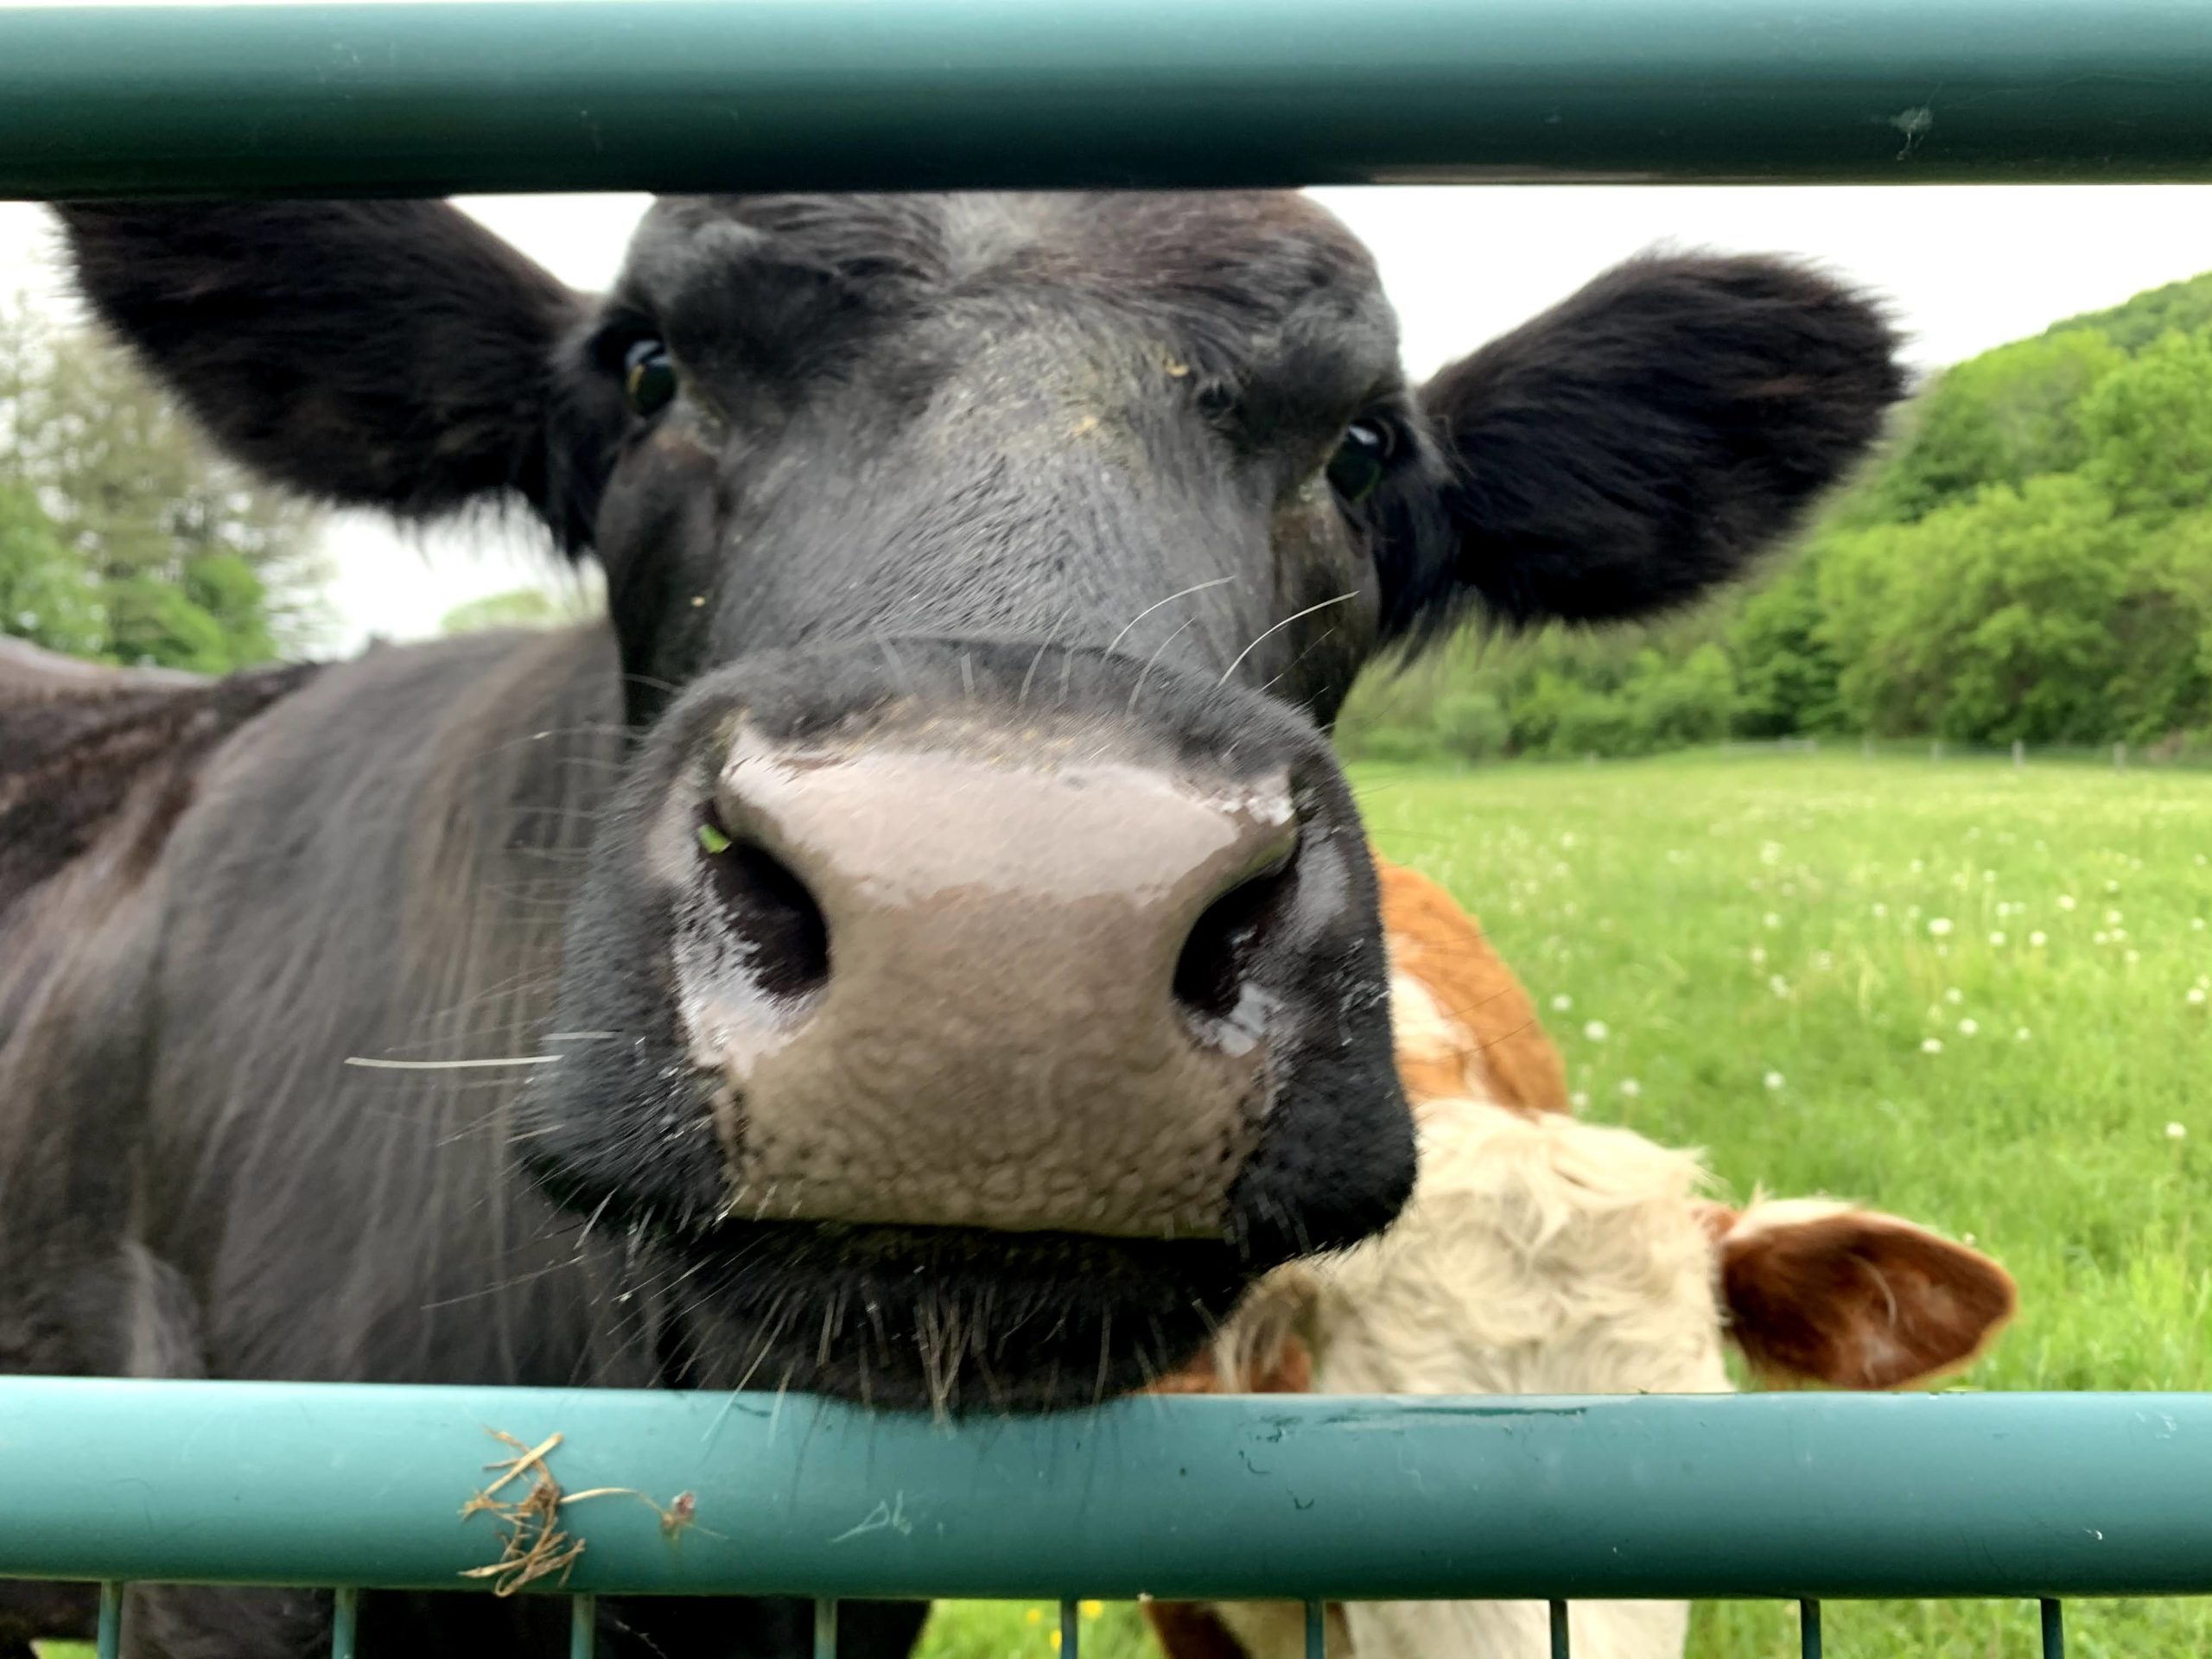
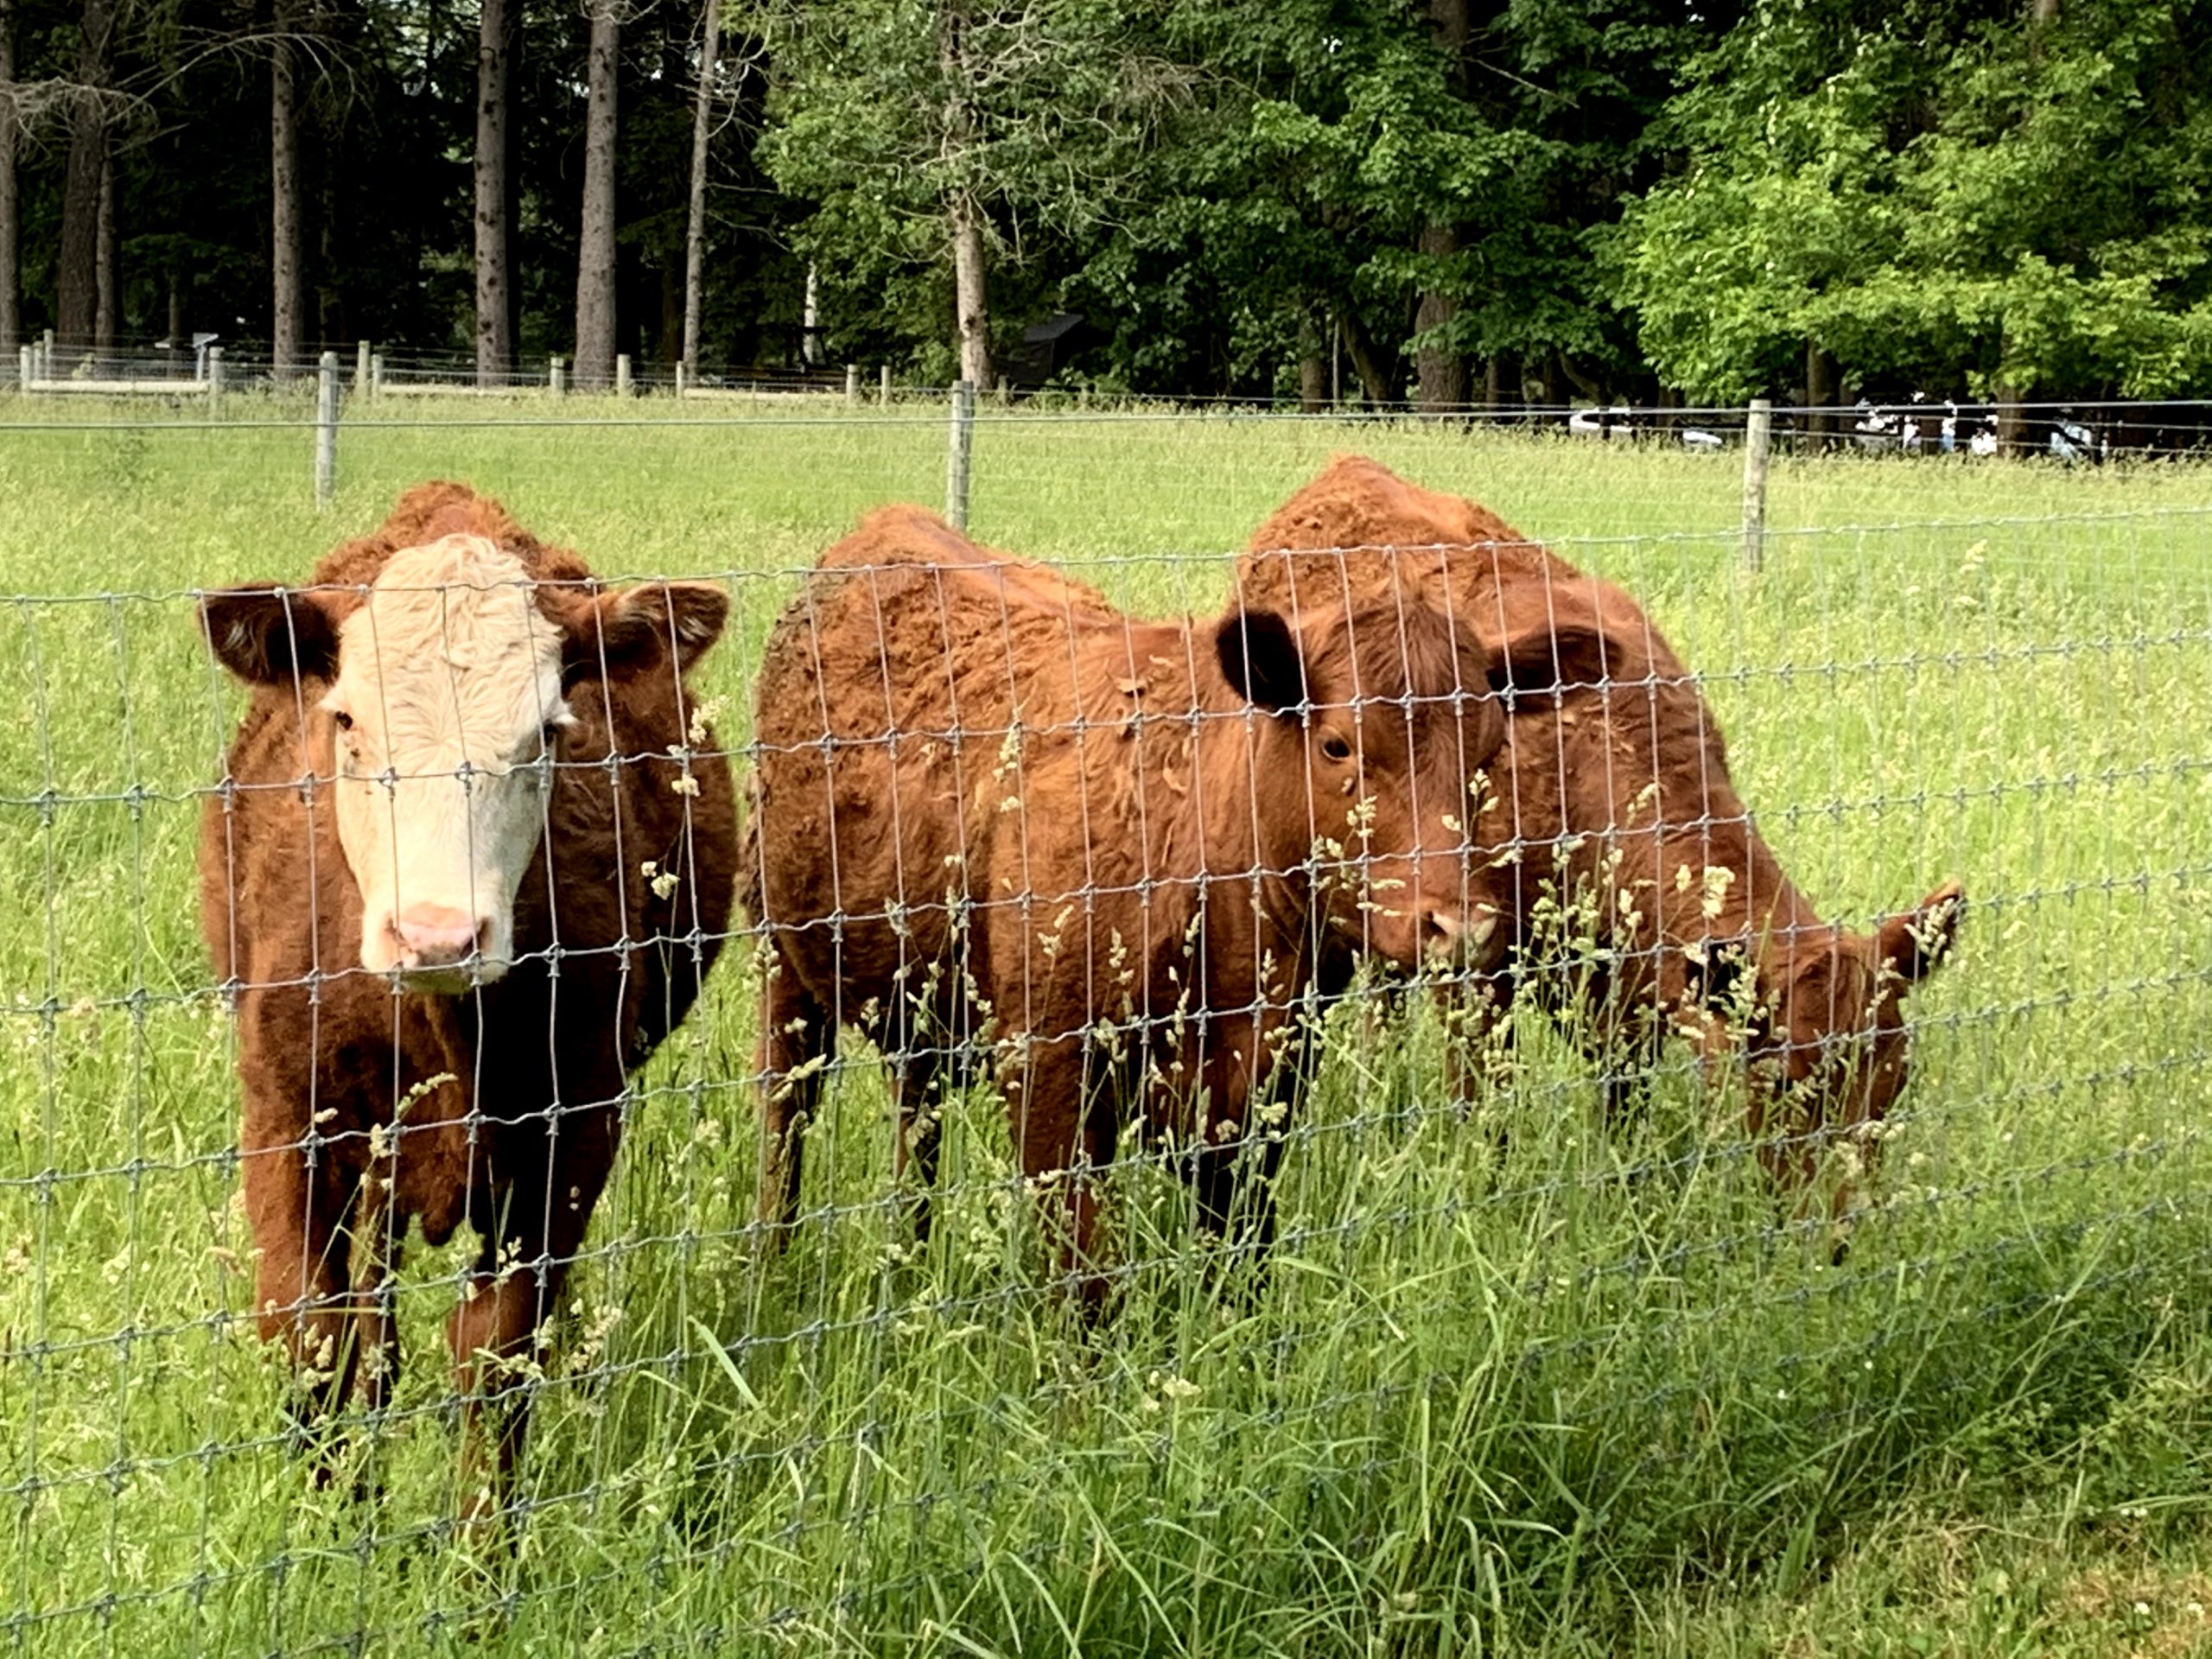
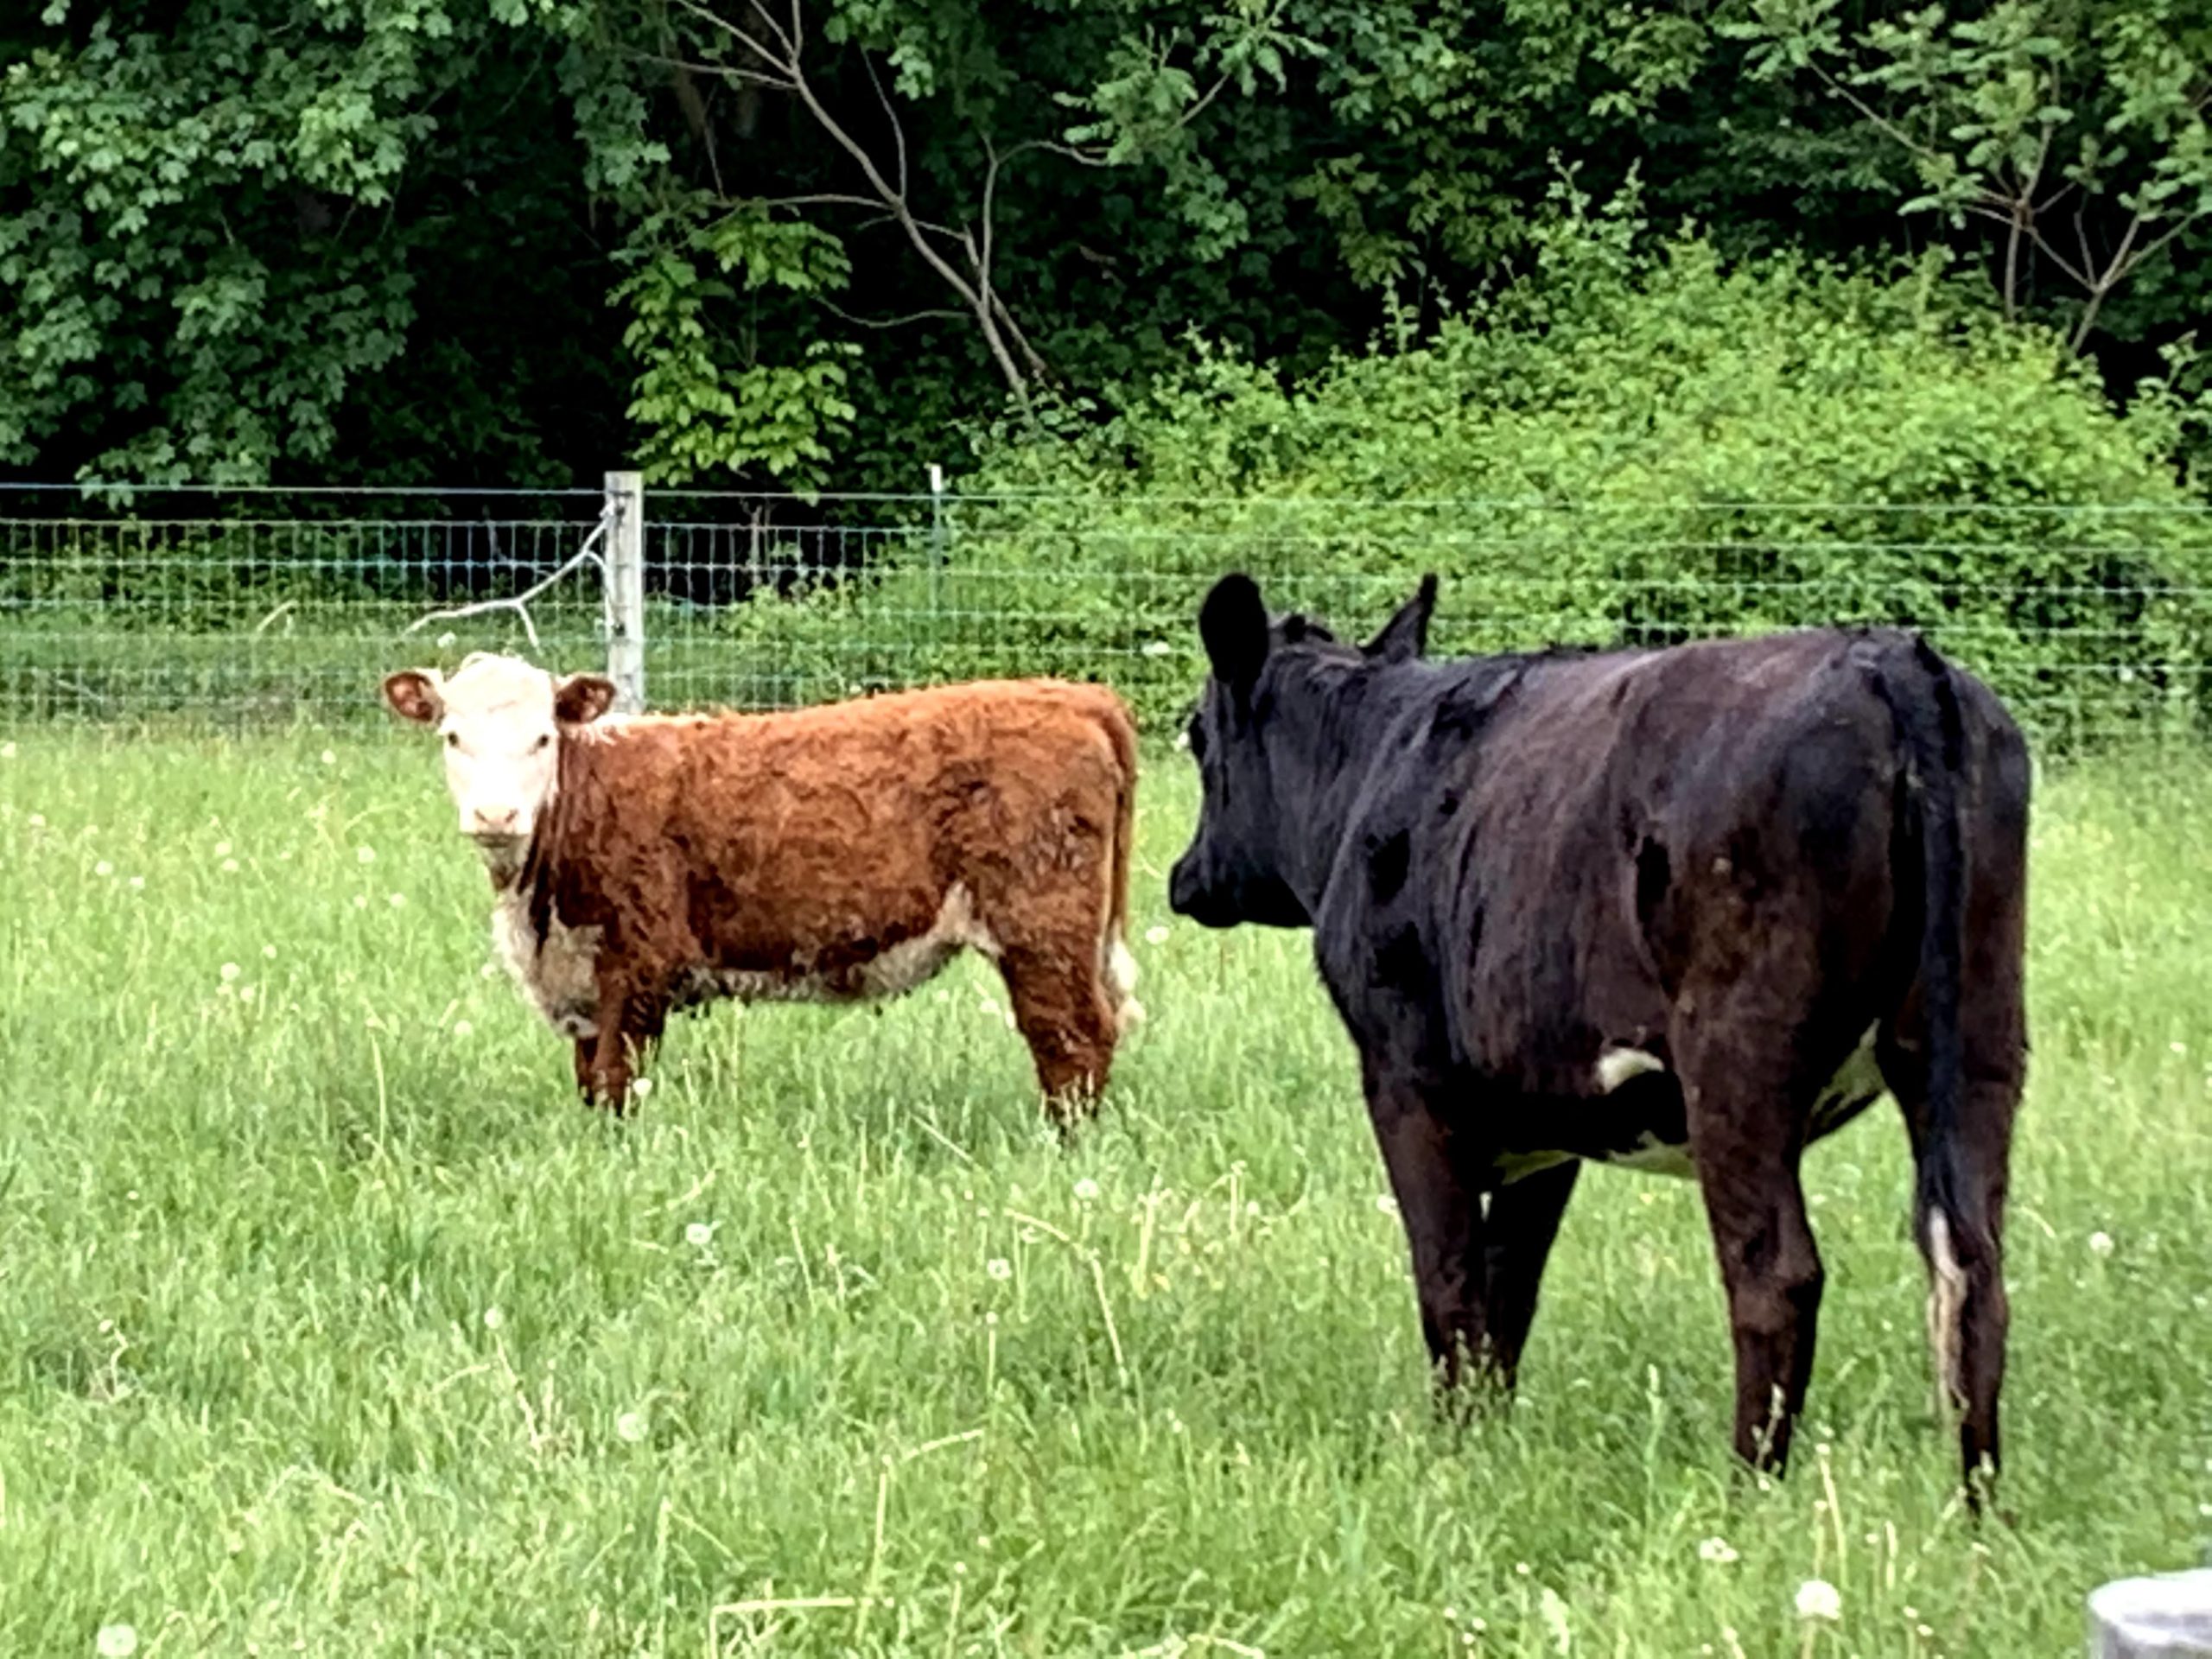
The larger black and white heifer is Snappy. She is inquisitive and very friendly – she enjoys head and nose rubs and likes to lick your hand. Snappy is in charge and leads the way.

Ann – hanging a little further back than Snappy.

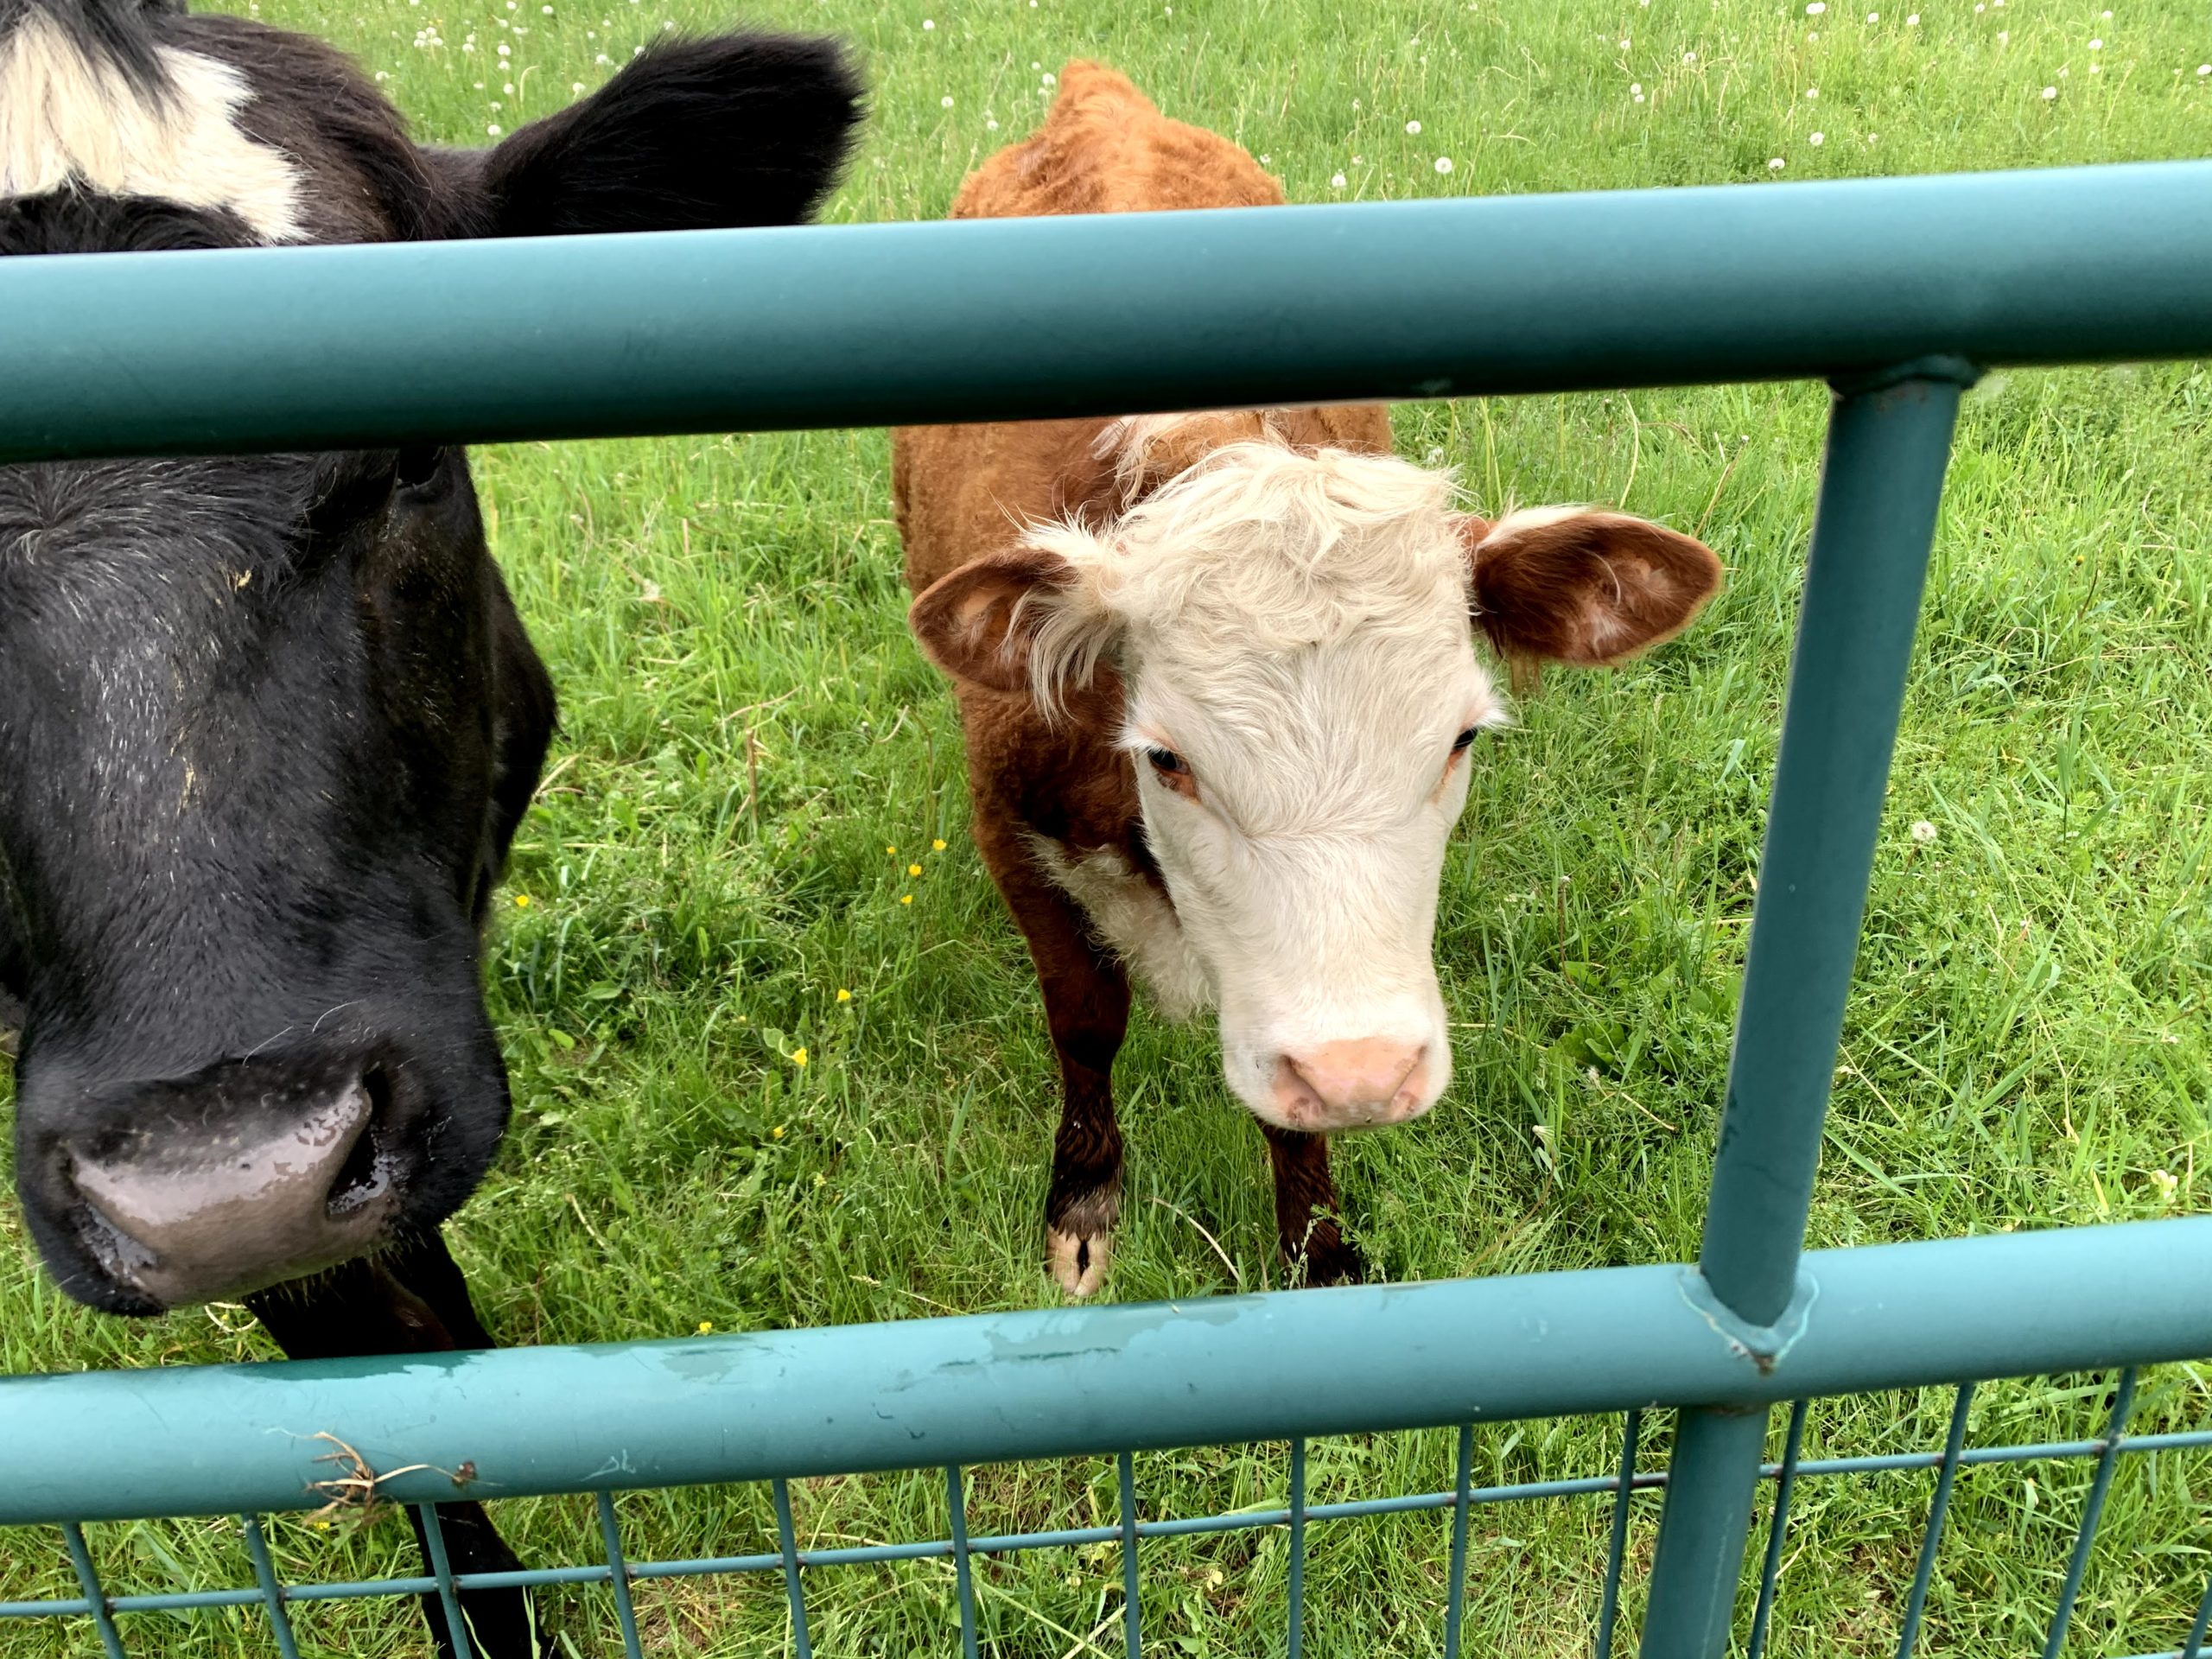
The second heifer is named Ann. She is much smaller, more shy and tends to be a follower. She tends to shadow Snappy around the pasture.

The heifers nosing up to the gate asking for food and pets.

They have been enjoying the lush pastures this year with a good balance of rain and sun so far – with the summer now more than halfway over already.

A Sad Day for a Deer

This past winter was especially cold. The temperature didn’t get above freezing for at least 6 or 7 weeks in a row. As a result, there was heavy snow cover on the ground for a long time (where more typically there would be some brief periods of melting even during the winter). The heavy snow cover made it very difficult for local wildlife such as deer to find their normal food in the woods. This pushed a lot of deer out of the woods closer to yards and homes.

We had a large group of deer right near the house – they would come out in the evening and hang around for a while standing on their hind legs to eat the low hanging pine and spruce tree branches around the house.

One morning, heading out to check on the chickens and goats, I noticed an animal that appeared to be stuck in the pasture fence.

Continue reading

A New Goat Feeder (Part 3)

We built a moveable goat hay feeder a number of years ago (details here). After the first winter, we made a few tweaks (details here). As discussed at the end of Part 2, we did drill some holes into the tray but those holes clogged up periodically so it turned out faster and easier to just scoop out any resulting hay dust from the tray instead.

The original couple of posts continue to be very popular with search engine results (relatively speaking) and we have received a number of inquiries about the plans to make one.

We didn’t really have a specific size plan or design in mind when creating it. The general idea was to replicate something like this one from Tractor Supply or many other samples from other sites.

Most of the design decisions were based on the sizes and types of available materials we had on hand (mostly items just stored in the hayloft). The key component was the metal shelf that we bent into a v-shape. That serves as the main piece of the feeder and basically dictated the width.

The “Front” view of the feeder.

The metal shelf was ~32″ deep so that became the width of the feeder area. The roof is 36″ because we happened to have a piece of plastic roofing that was ~18″ wide so we cut it in half to get 2 sections of 18″.

The “side” view of the feeder.

The roof is 4 feet because we had an 8 foot long section that we cut in half. The tray ended up as 32″ because we wanted a couple extra inches past the edge of the feeder to catch falling hay.

Continue reading

New Roosters

Our rooster, Chirparoo, died a few weeks ago. We noticed that he was walking with a slight limp during the day and tried to treat him that evening with some pain meds, but he didn’t survive the night.

Hens are usually experience less stress with a rooster in the flock because the rooster provides protection and helps keep the peace. So we were in the market for a new rooster.

Luckily, someone nearby had a few extra roosters they were looking to part with. They had tried to hatch eggs from their flock, hoping for additional hens. They ended up with 5 roosters from 5 eggs (pretty unlucky).

Our new full size rooster.

And, to our luck, they happened to have children who played with the roosters from right after hatching, so they are very used to being handled and are friendly.

Our new bantam sized rooster “Moe”
Continue reading

Another New Visitor

Just before we picked up our new dog Rocky, one of our hens was killed during the day outside the fences. It could have been any number of predators – a fox seemed pretty likely though foxes aren’t usually likely to be out in the middle of a sunny day.

But it turned out it wasn’t a fox. We had seen a cat occasionally around the pastures in the weeks prior, but didn’t think a cat would normally attack an adult chicken. However, after the hen was killed, we saw the cat with increasing frequency. The cat was hanging out just outside the fences watching the other chickens. The cat was even spotted hanging out just outside the chicken coop door at one point.

We decided to email the neighborhood list to see if someone’s cat was loose. Receiving no positive responses, we decided to try to trap the cat.

We put out a trap with a plain can of tuna in it, expecting it to take a few days before the cat felt comfortable enough with a new box in its environment to try to get inside. We were wrong. Checking on the trap after an hour or so of putting it out, the cat was already inside.

The cat in the trap.

He was not very happy to be in a trap. We quickly put on protective gear (think coats in case he tried to scratch) and moved him into a large dog crate to give him some more space.

Continue reading

Meet Rocky!

Say hi to Rocky, the latest addition to Lucky Penny Acres.

Rocky

We learned that the shelter where we originally adopted Shaffron had an old yorkie come in. The dog was a stray picked up on the streets of Jersey City, NJ. He is missing an eye, very thin, and has some joint problems. The shelter took care of routine vaccines and got him groomed. The description on their website called him a “moldy oldy”. They named him Rocky Wrench.

Given his condition and age, finding a home may have taken quite a while.

Rocky sticking his tongue out at the camera.
Continue reading

Building a Climbing Ramp

We wanted to build a (human) kid’s climbing ramp (sometimes referred to as a pikler arch / montessori arch). We found a bunch of varieties and styles on sale online but decided to try building our own.

We decided to make it approximately 4 feet long. We started with a 8 foot long, 20 inch wide board.

First, cut it in half to end up with two 4 foot long sections. Stack those two sections on top of each other so when you then measure and cut the arch, both sides automatically match, even if the cuts aren’t exact.

Drawing the arch on the board before cutting. The outer arch is based on a circle with a 24 inch radius with the smaller curved lines based on smaller concentric circles.

With one 20 inch wide board, we cut out 3 separate pairs of arches. While we have only finished the larger outer climbing ramp to date, we have plans to make 2 smaller ramps in a similar style when we have the time.

After drawing out the ramps, cut out the arches using your jigsaw. For the slats, we cut out ten ~23 inch long pieces from 1″ x 4″ boards.

The cut outer arches along with a sample of the slats.

After cutting out the arches and slats, it is time to round off all of the exposed edges and corners with a round off router bit to eliminate any sharp edges.

Once the routing is complete, it is time to sand all of the surfaces with several levels of sandpaper – we used coarse, medium and fine on all of the surfaces.

Continue reading

Shade for the Summer

With the length and number of summer heat waves seeming to increase every year, we have been looking for additional ways to help the animals better cope with the heat.

We had been considering putting up some shade sails to provide additional shaded areas for the animals to get out of the sun. While still considering buying a shade sail, we happened to come across an ad from a local homeowner cleaning out their house before moving. They were giving away a free sun umbrella so we picked it up with the thought to use it for extra shade for the chickens.

Free sun umbrella with 3 broken spokes.

The only problem – it had 3 broken ribs. 2 had the ends broken off and one snapped off closer to the center pole.

A simple fix on one of the umbrella ribs.

The 2 ribs with broken ends just needed a quick fix – attach a length of wood to replace the missing piece. I used a couple pieces of scrap wood and some old screws salvaged from other projects over time.

The 3rd rib required two pieces with a small bolt to permit it to pivot and close the umbrella – I had to buy the bolt, along with a couple washers and a nut or two – total cost $2.78.

Continue reading

Wildlife Escape Ramps (Part 2)

As previously mentioned, we created some simple wildlife escape ramps for our water buckets to reduce both wildlife drowning deaths and reduce potential contamination risk for our animals.

Here are the step-by-step directions for creating a simple wildlife escape ramp for a standard 5 gallon flat-back bucket.

Roll of 1/2 inch x 1/2 inch vinyl-coated wire mesh.

Here are the materials you will need:

  • 5 gallon flat-back bucket.
  • 1/2 inch vinyl-coated wire mesh – you will need a 1 foot by 1 foot section. It often comes in rolls 2 feet wide. The vinyl coating is important because the ramp will be underwater and the vinyl provides additional protection.
  • Wire cutter / side cutter / scissors – This will be needed to cut out the appropriate size of wire mesh (if necessary).
  • A ruler or other straight edge to use for bending the wire mesh along a straight line.
  • 1 can of rustoleum or similar spray paint (optional).
Any cutting implement that will cut through the wire mesh will work just fine.
Continue reading