
We wanted to build a (human) kid’s climbing ramp (sometimes referred to as a pikler arch / montessori arch). We found a bunch of varieties and styles on sale online but decided to try building our own.
We decided to make it approximately 4 feet long. We started with a 8 foot long, 20 inch wide board.
First, cut it in half to end up with two 4 foot long sections. Stack those two sections on top of each other so when you then measure and cut the arch, both sides automatically match, even if the cuts aren’t exact.
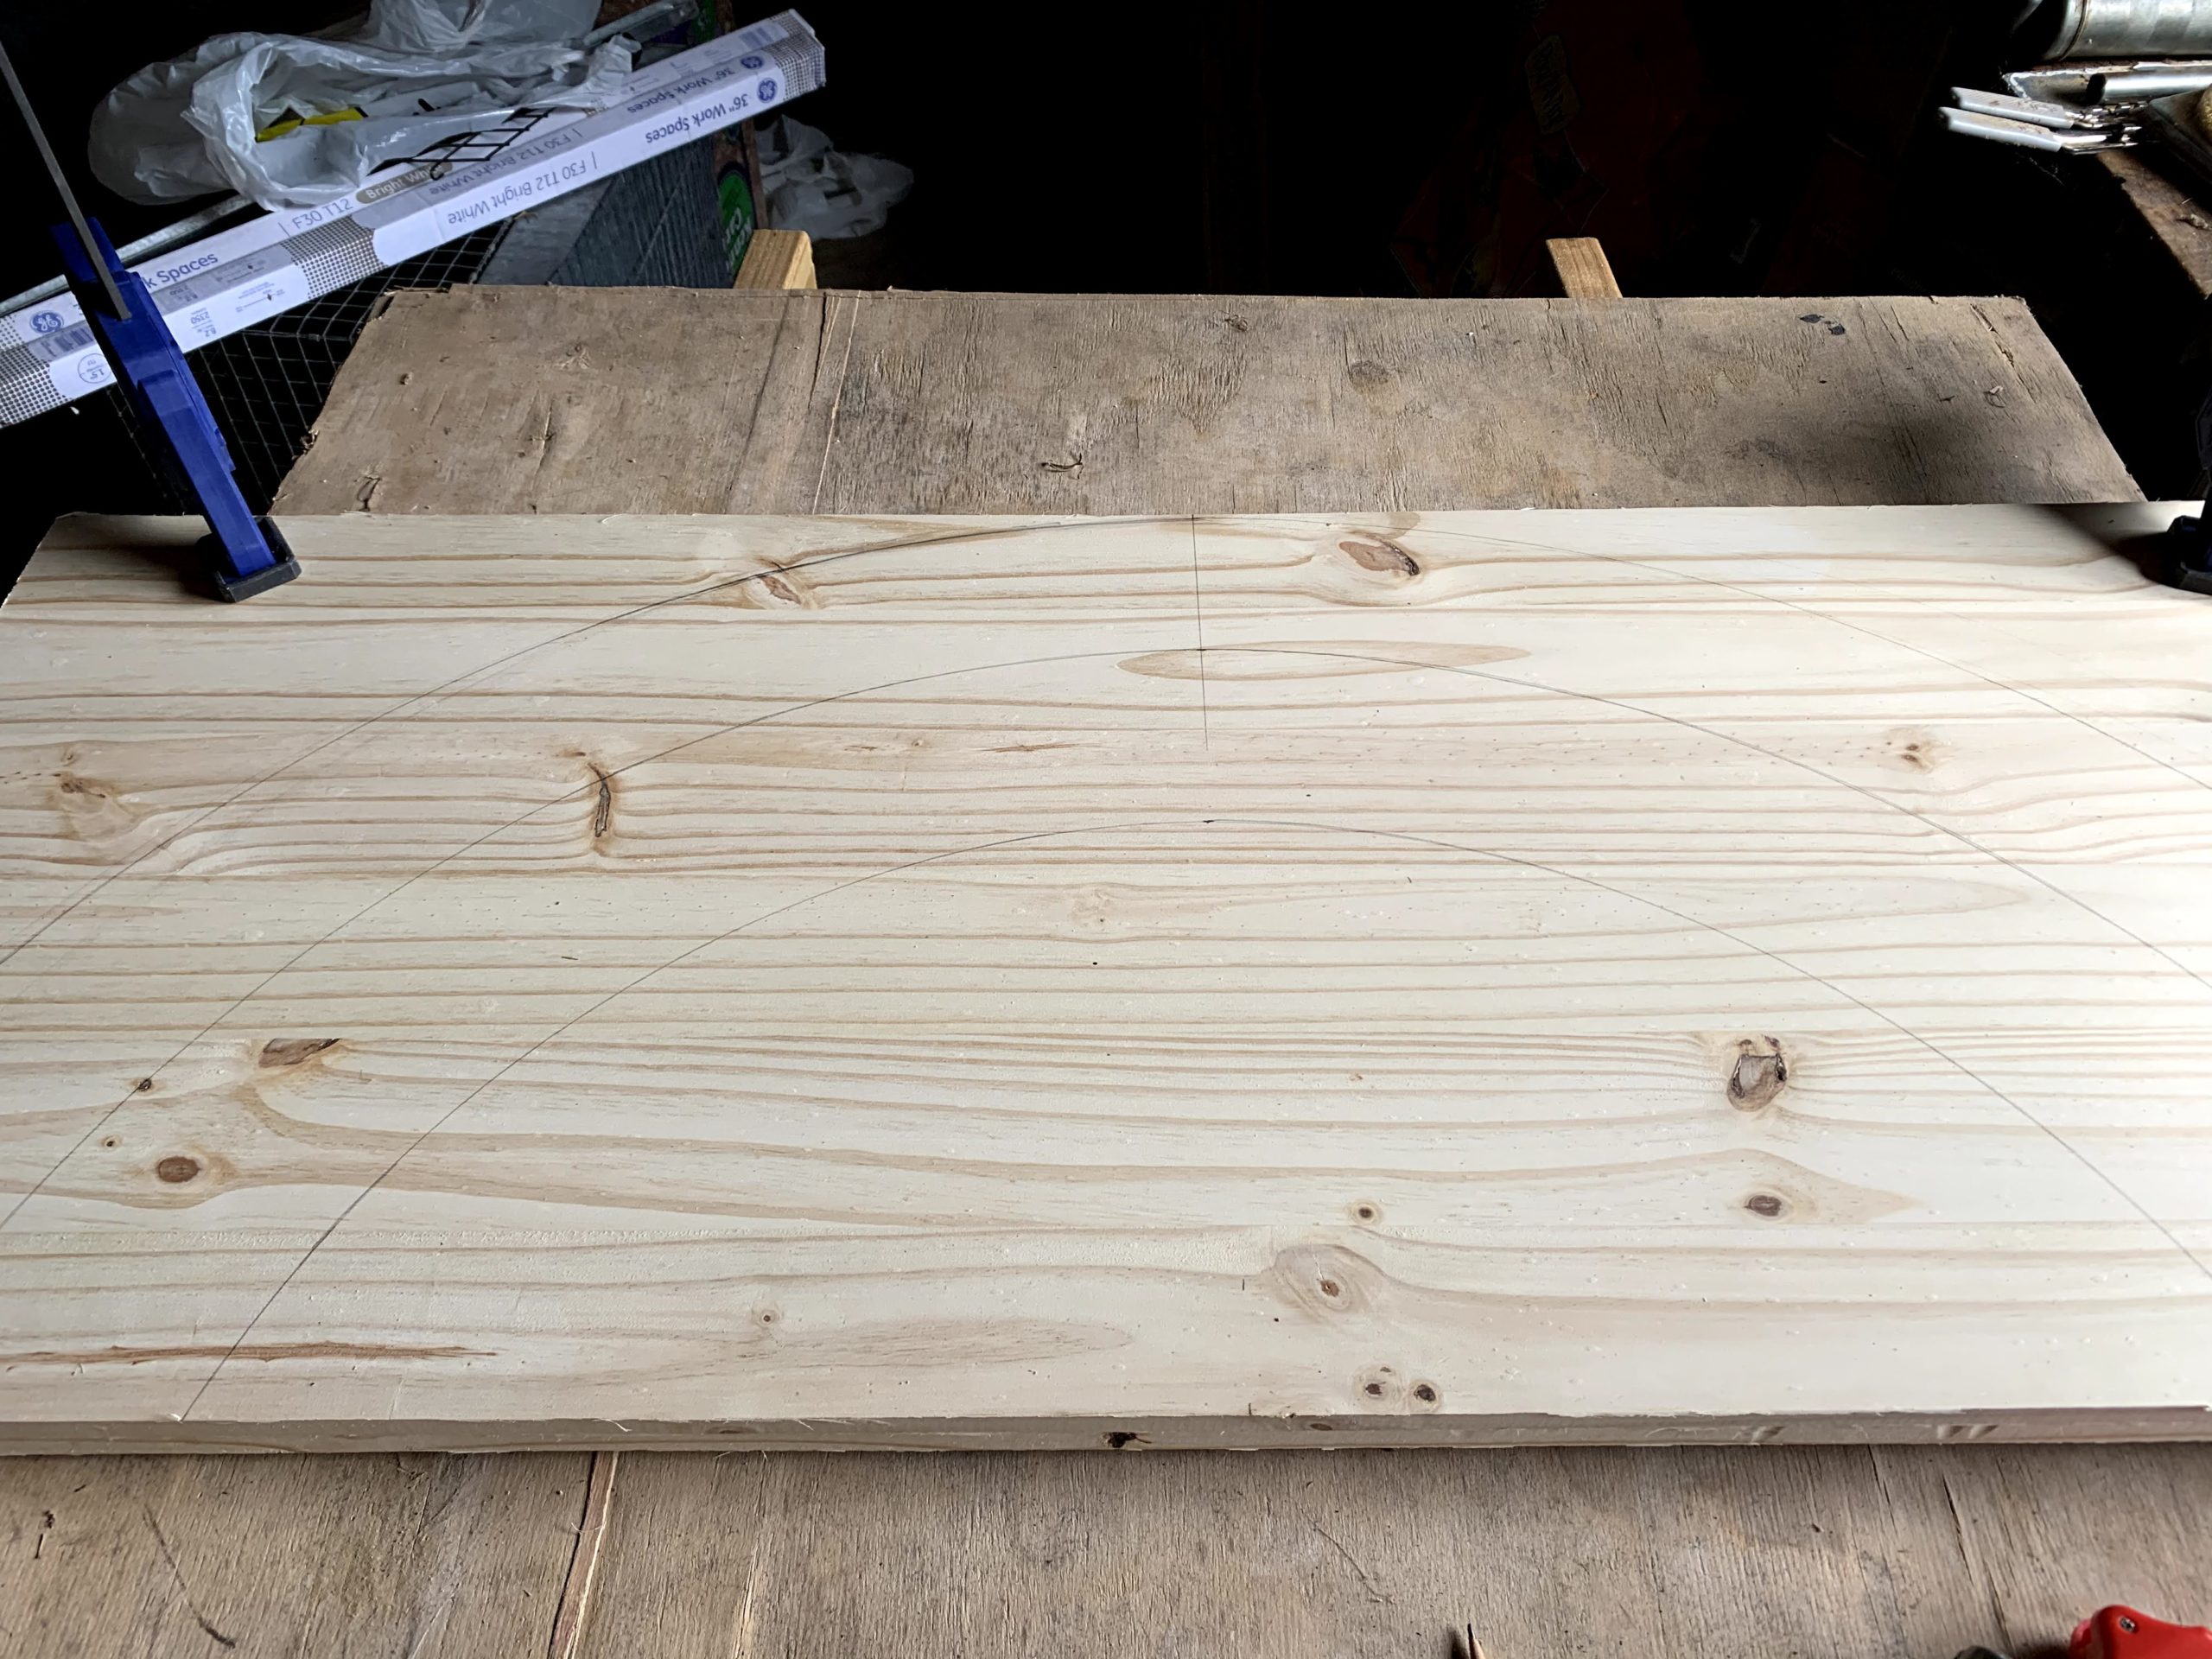
With one 20 inch wide board, we cut out 3 separate pairs of arches. While we have only finished the larger outer climbing ramp to date, we have plans to make 2 smaller ramps in a similar style when we have the time.
After drawing out the ramps, cut out the arches using your jigsaw. For the slats, we cut out ten ~23 inch long pieces from 1″ x 4″ boards.
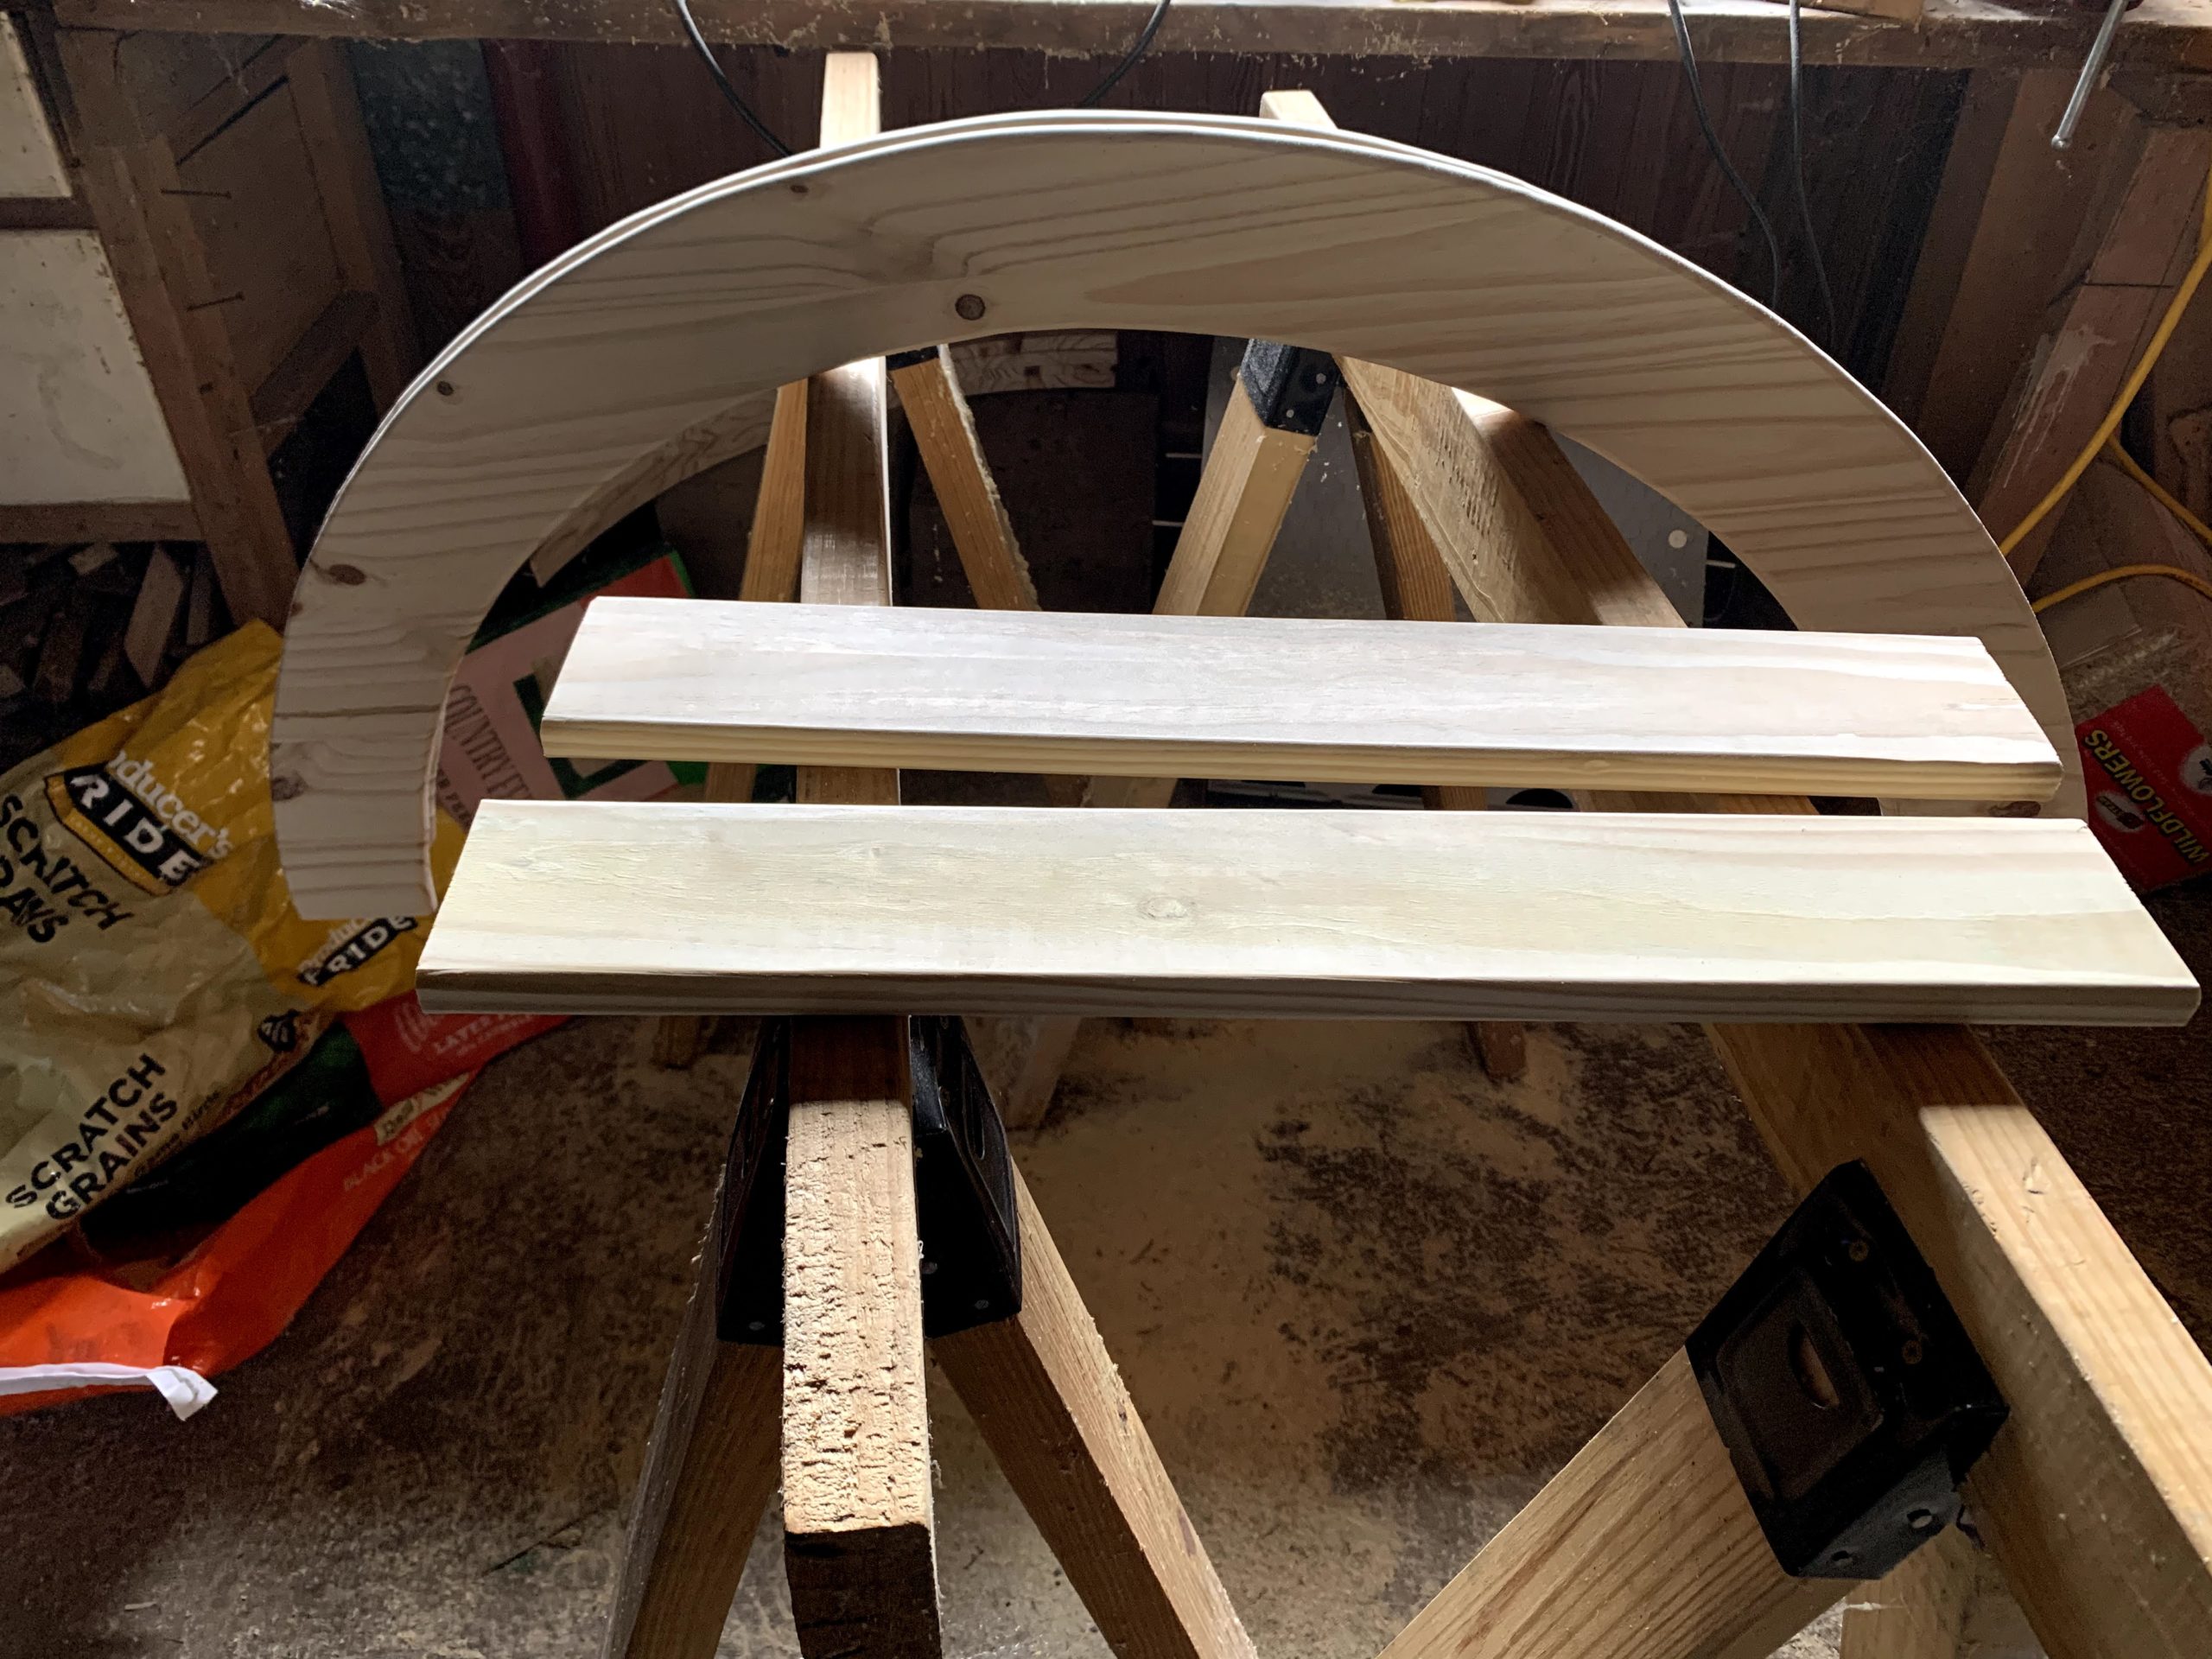
After cutting out the arches and slats, it is time to round off all of the exposed edges and corners with a round off router bit to eliminate any sharp edges.
Once the routing is complete, it is time to sand all of the surfaces with several levels of sandpaper – we used coarse, medium and fine on all of the surfaces.
After sanding is complete, clean all of the boards in preparation for adding color. We wanted bright, vibrant colors that still showed the wood grain. After a little research, it looked like food coloring was the best (and a relatively cheap) method for adding vibrant colors. Take 70% rubbing alcohol and mix in food coloring (a ratio of around 10 drops per tablespoon of alcohol resulted in pretty good color saturation). It also dries very quickly so it doesn’t take a long time between coats.
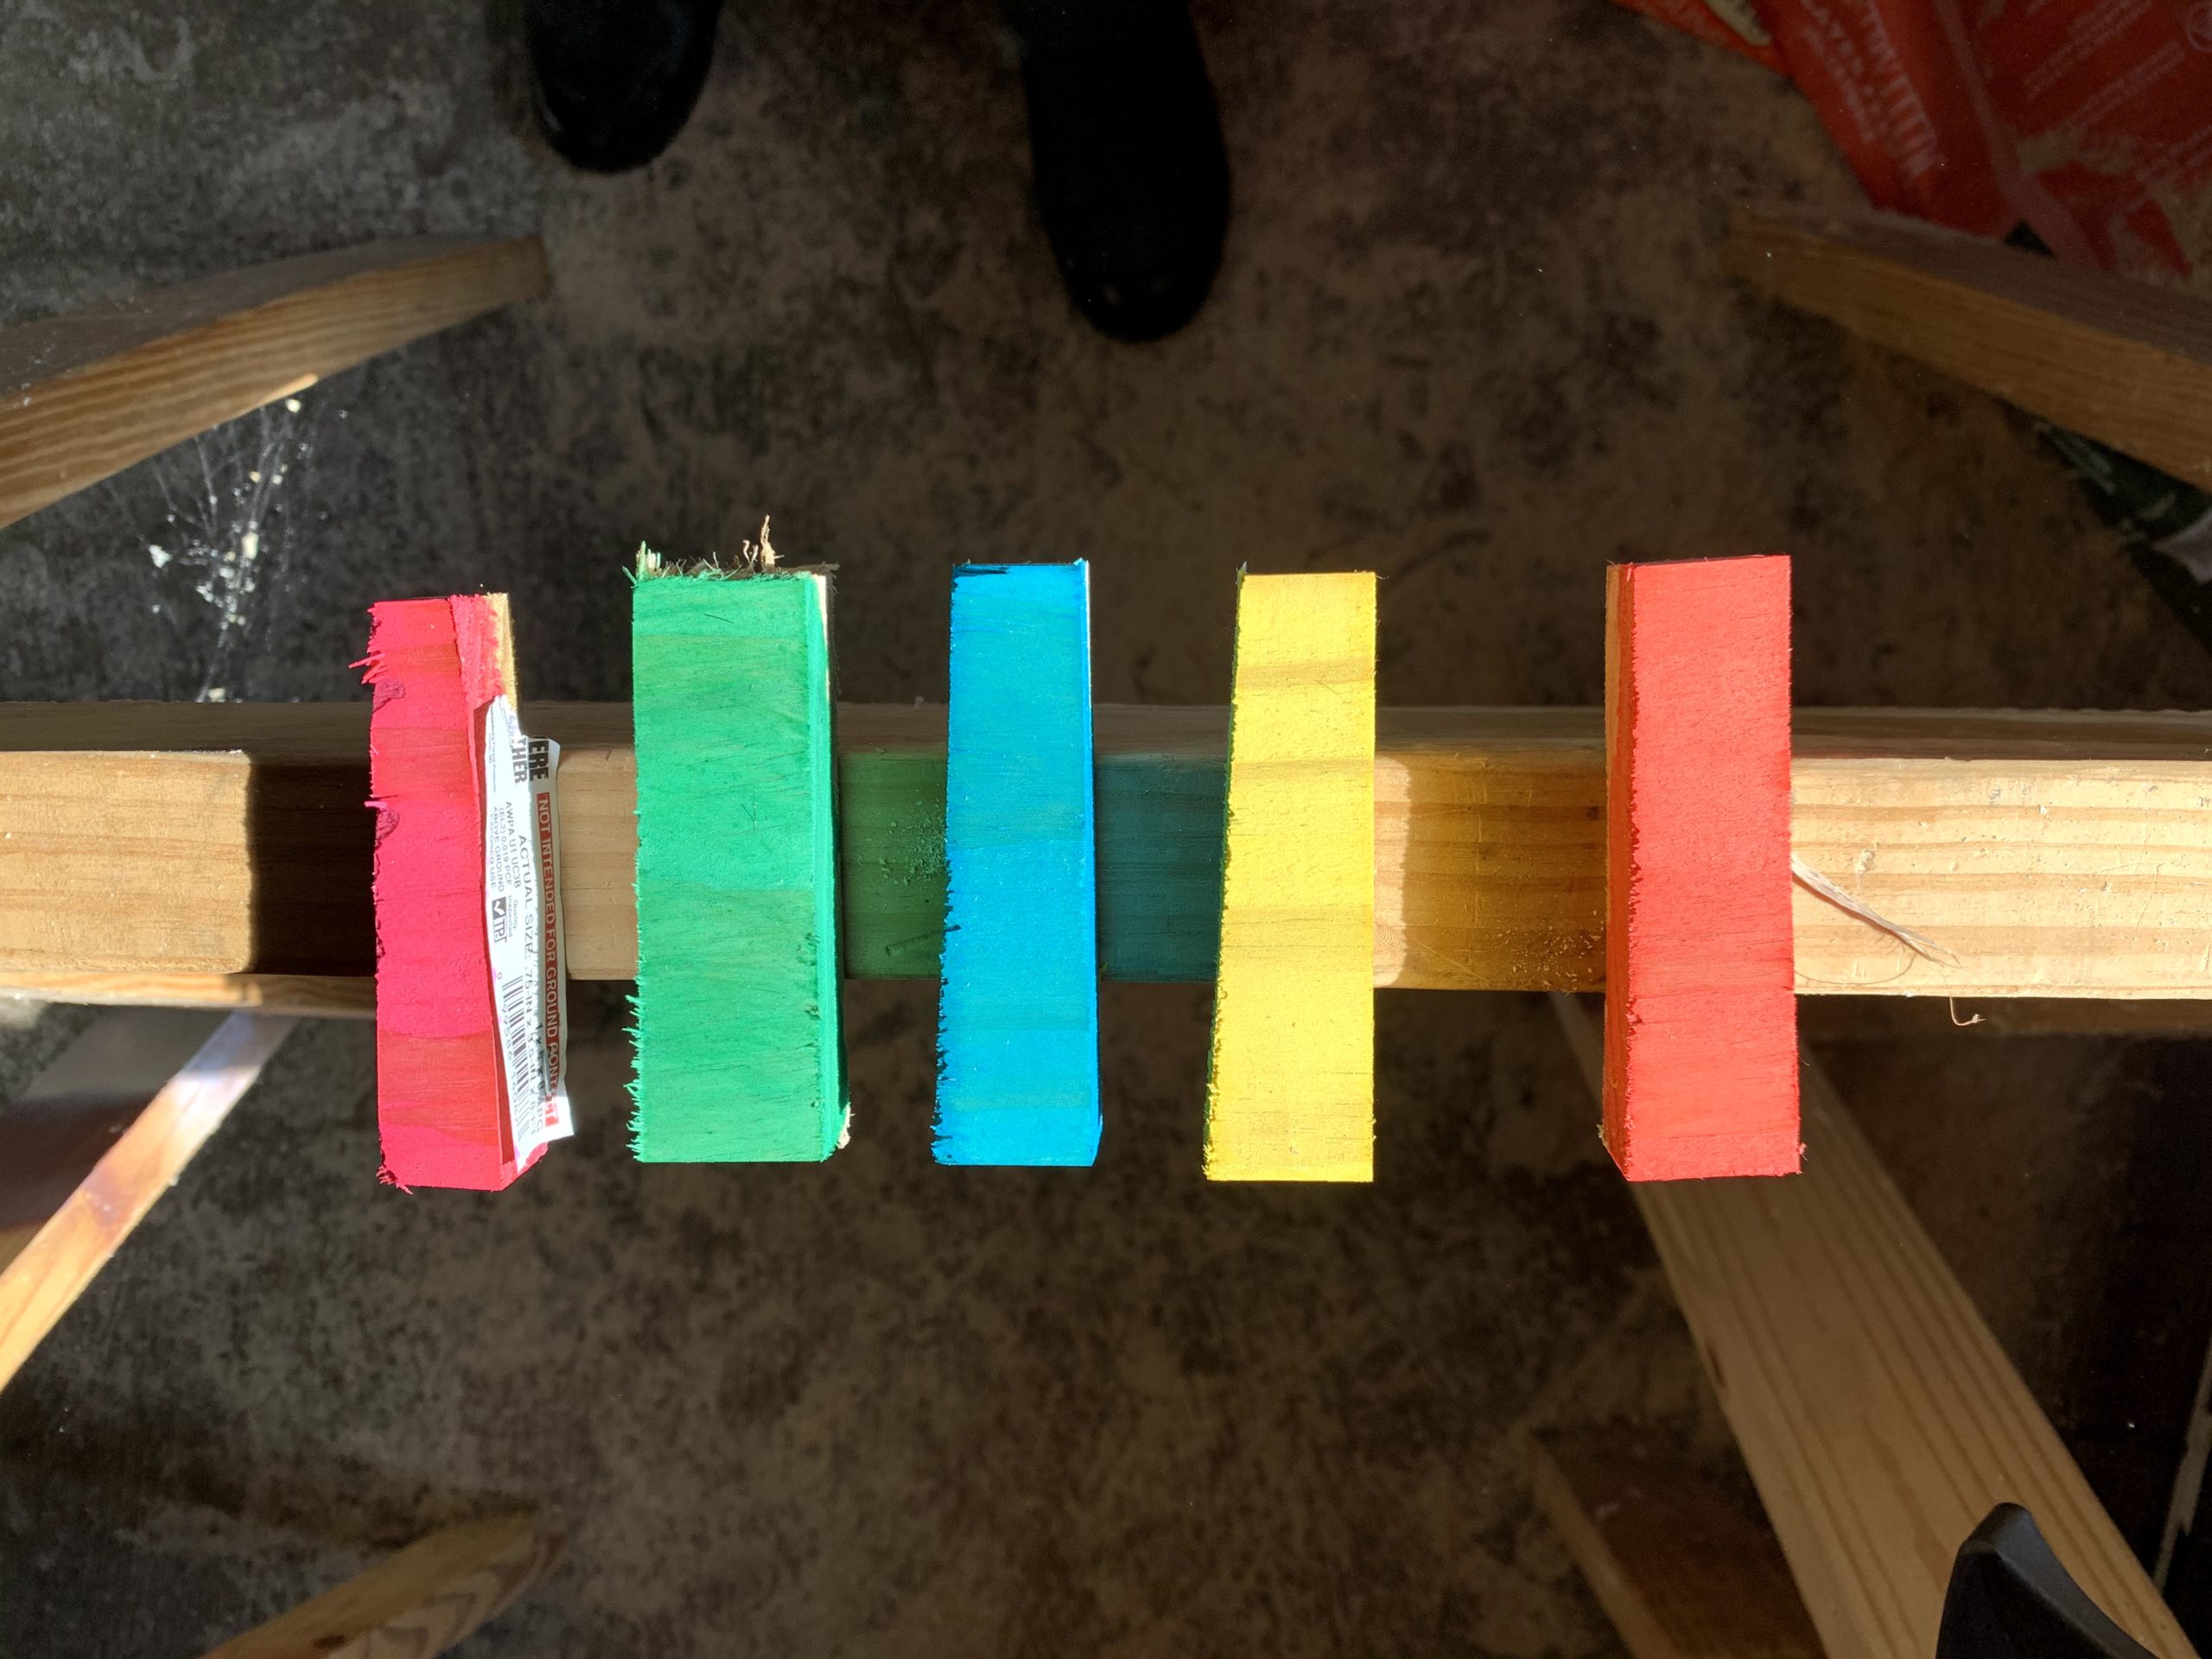
We decided to leave the arches natural wood color and only color the slats. We used 5 colors across the 10 slats (2 slats per color). After finishing the coloring process, we covered the slats and arches with shellac. With the food coloring, there can be some bleeding of the color without another coating or sealant over top.
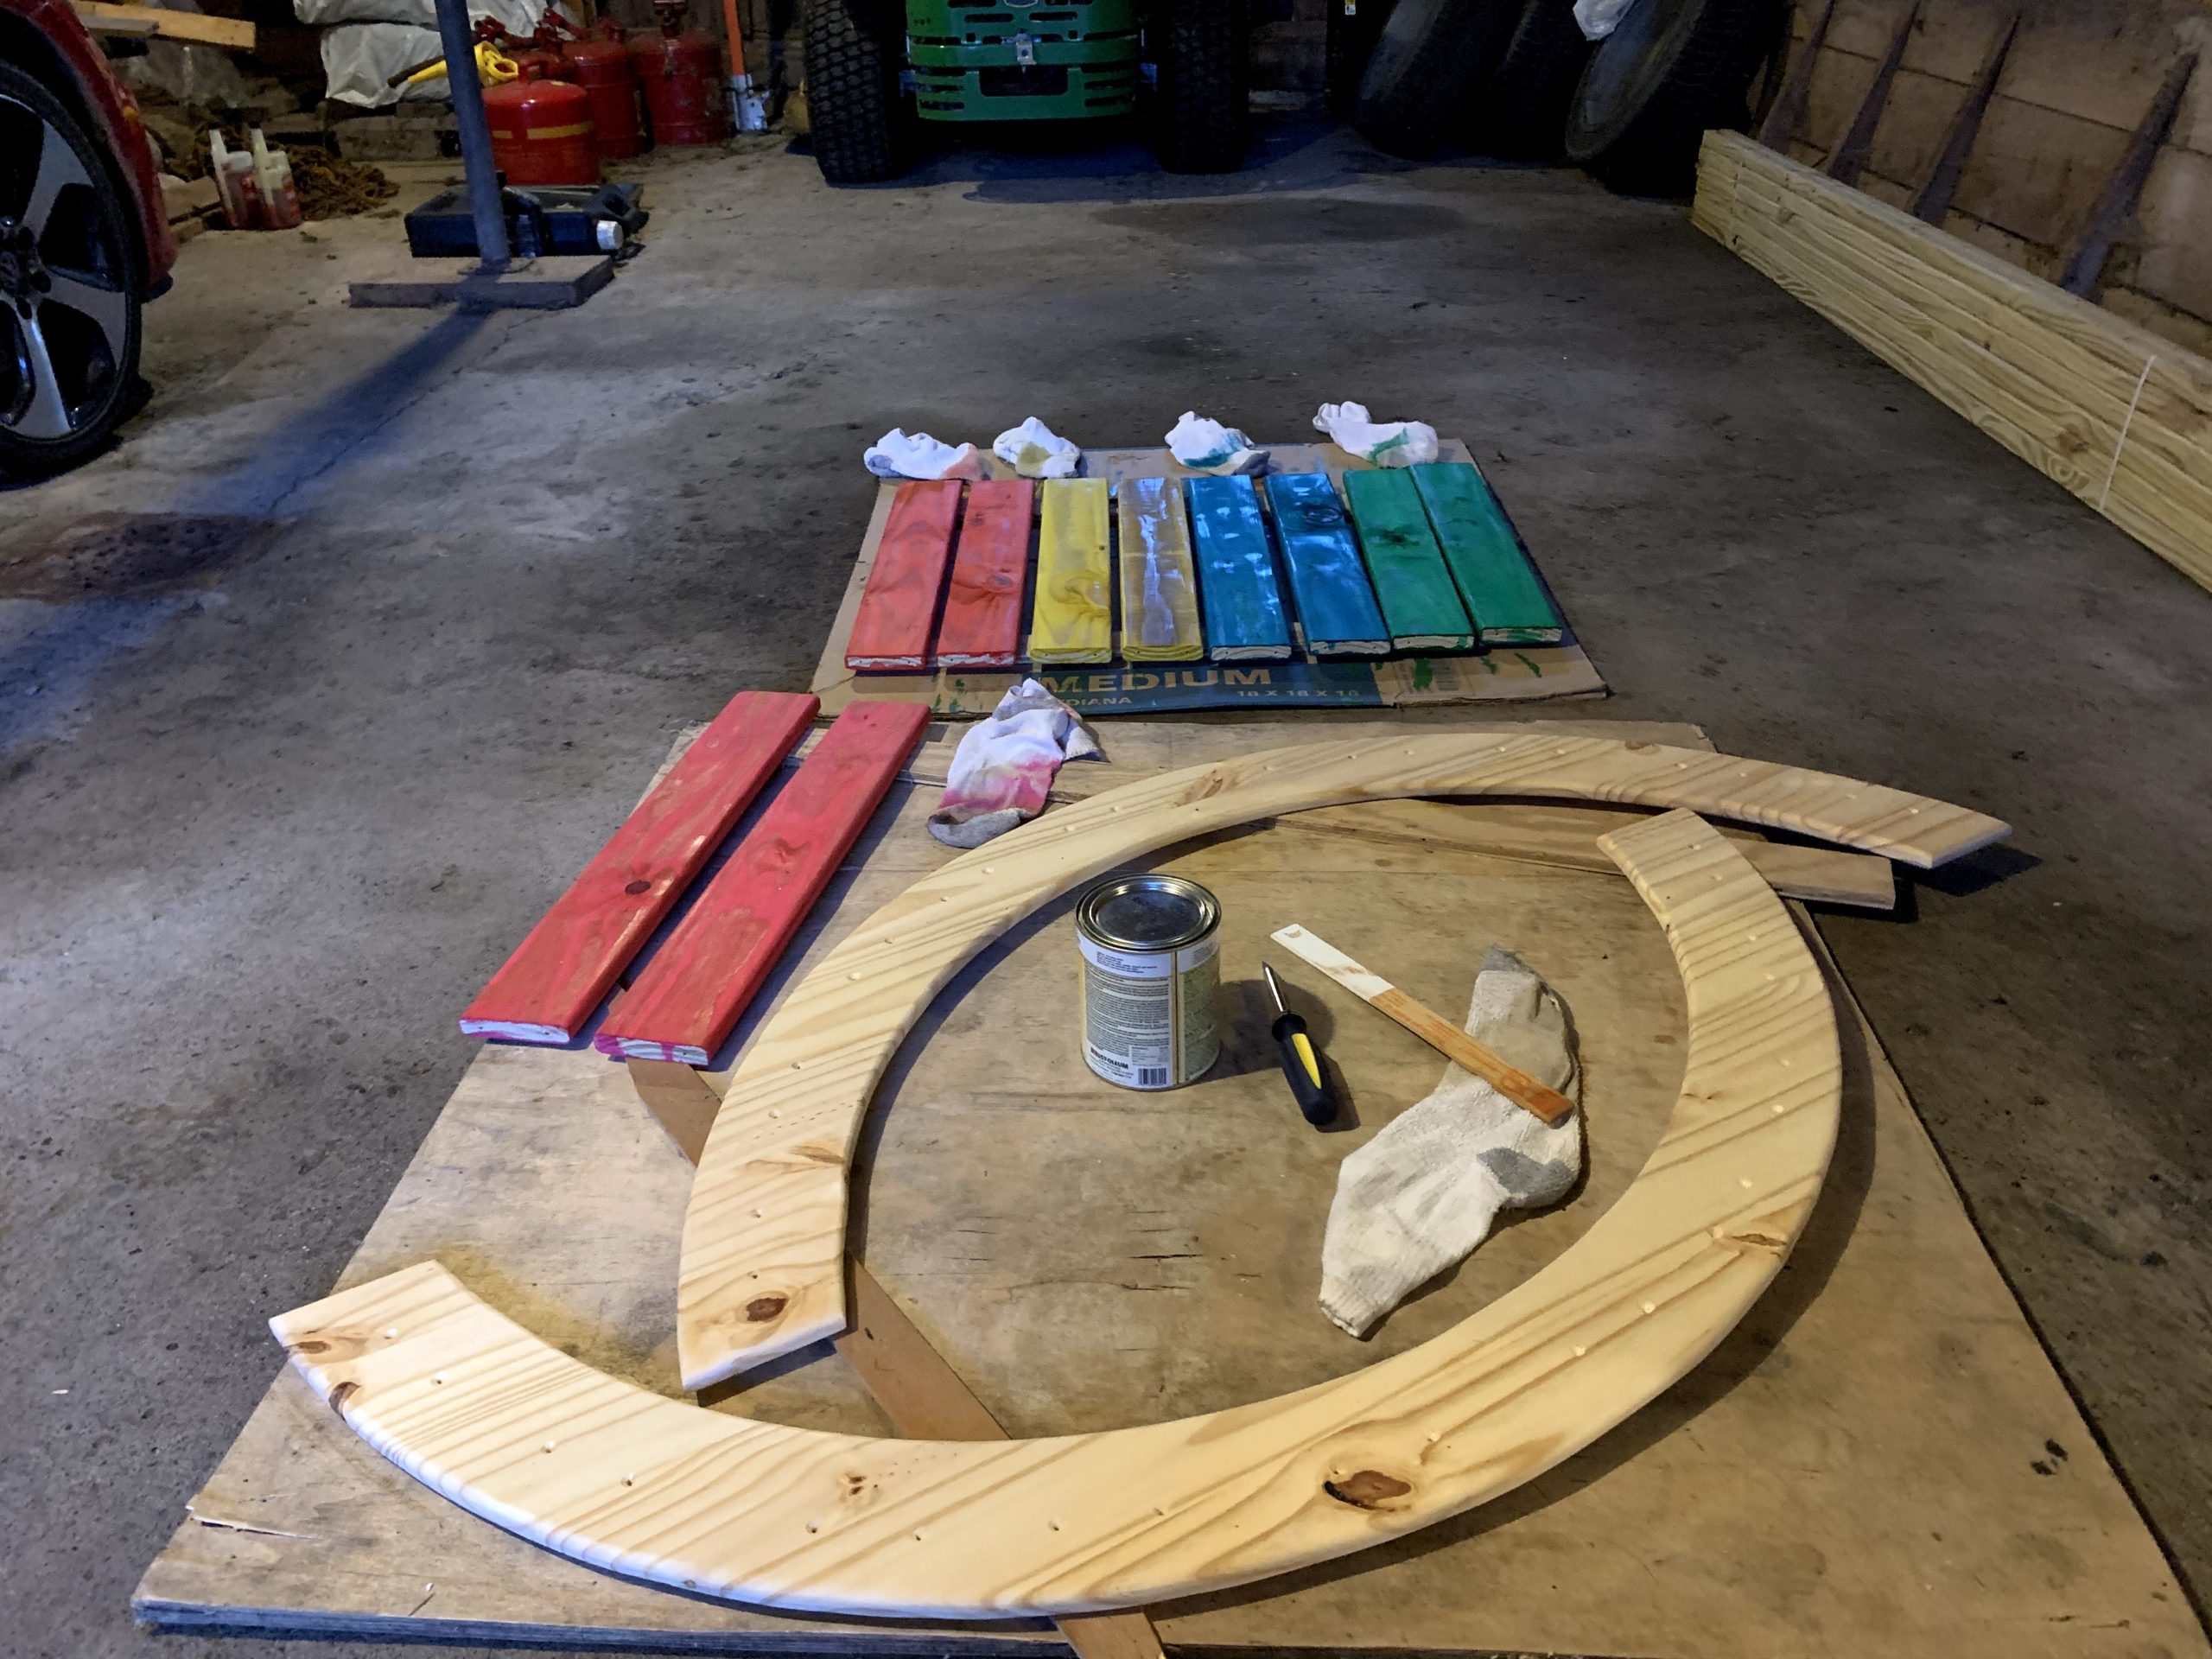
Then attach the slats to the arches using wood screws. I pre-drilled through both arches when the arches were stacked on top of each other and clamped together so that the holes would always line up. I also used a countersink so that the screws wouldn’t stick out.
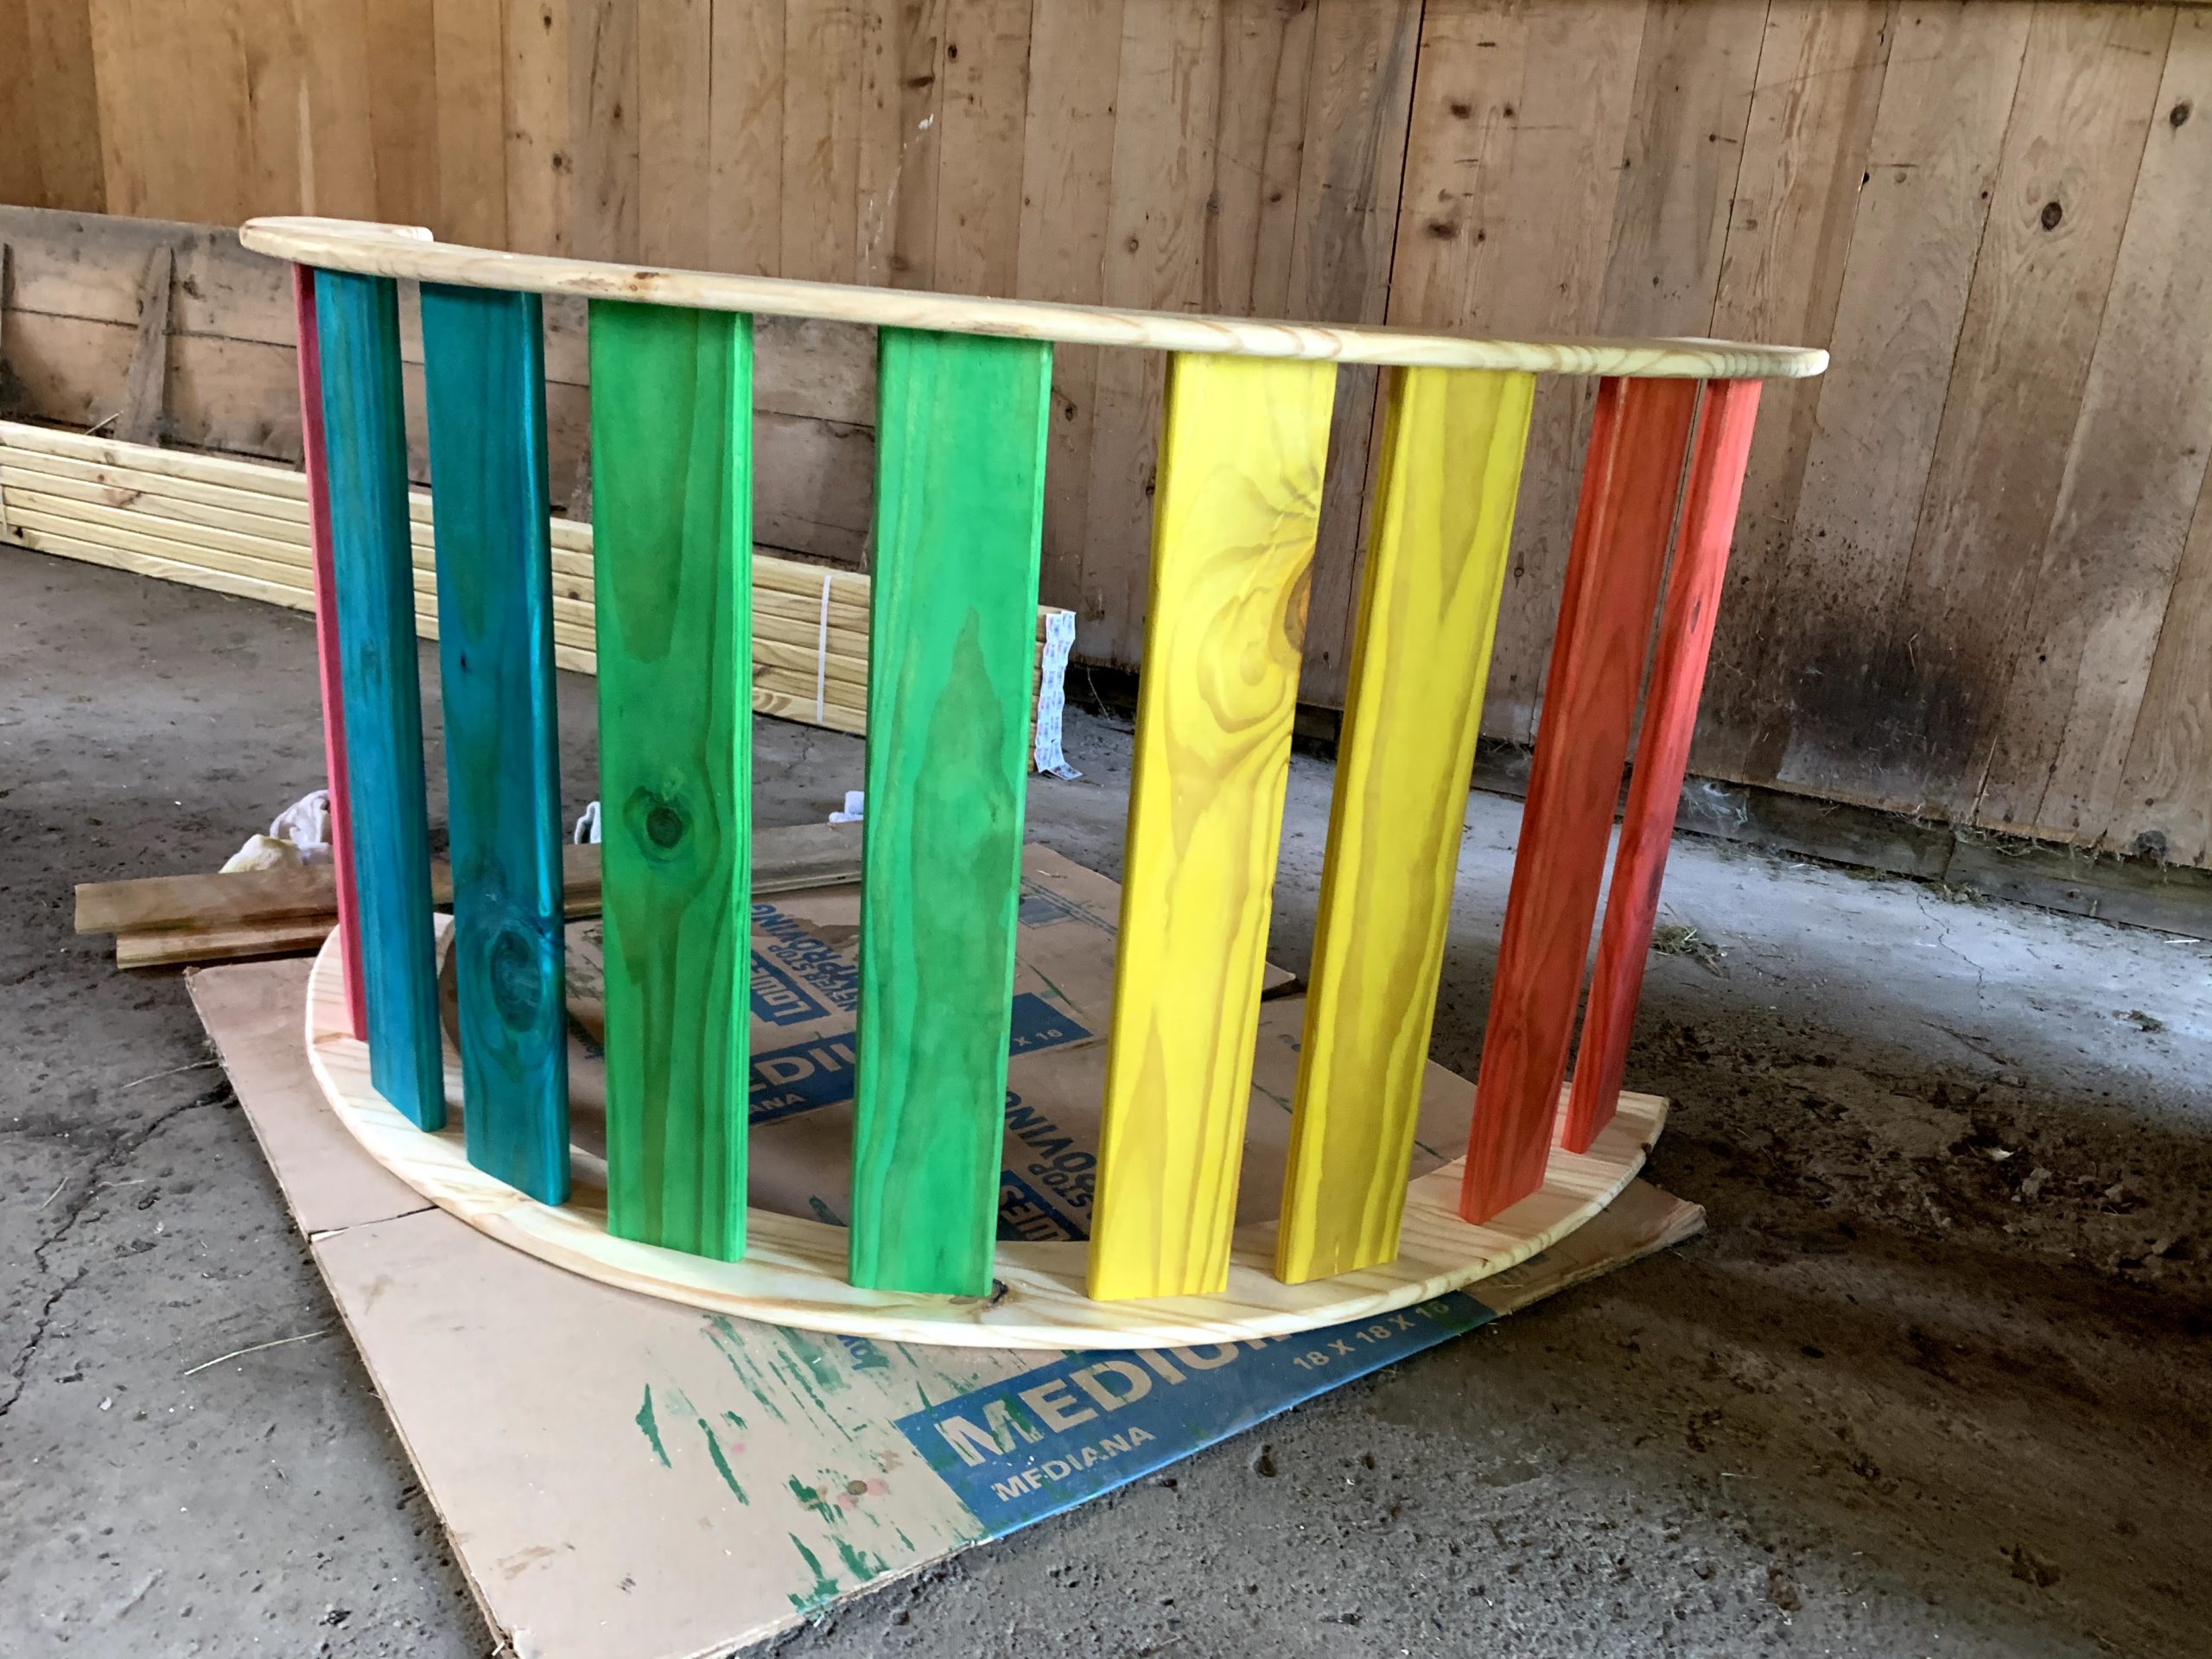
In addition to serving as a climbing arch, it can also work as a rocker when flipped over.
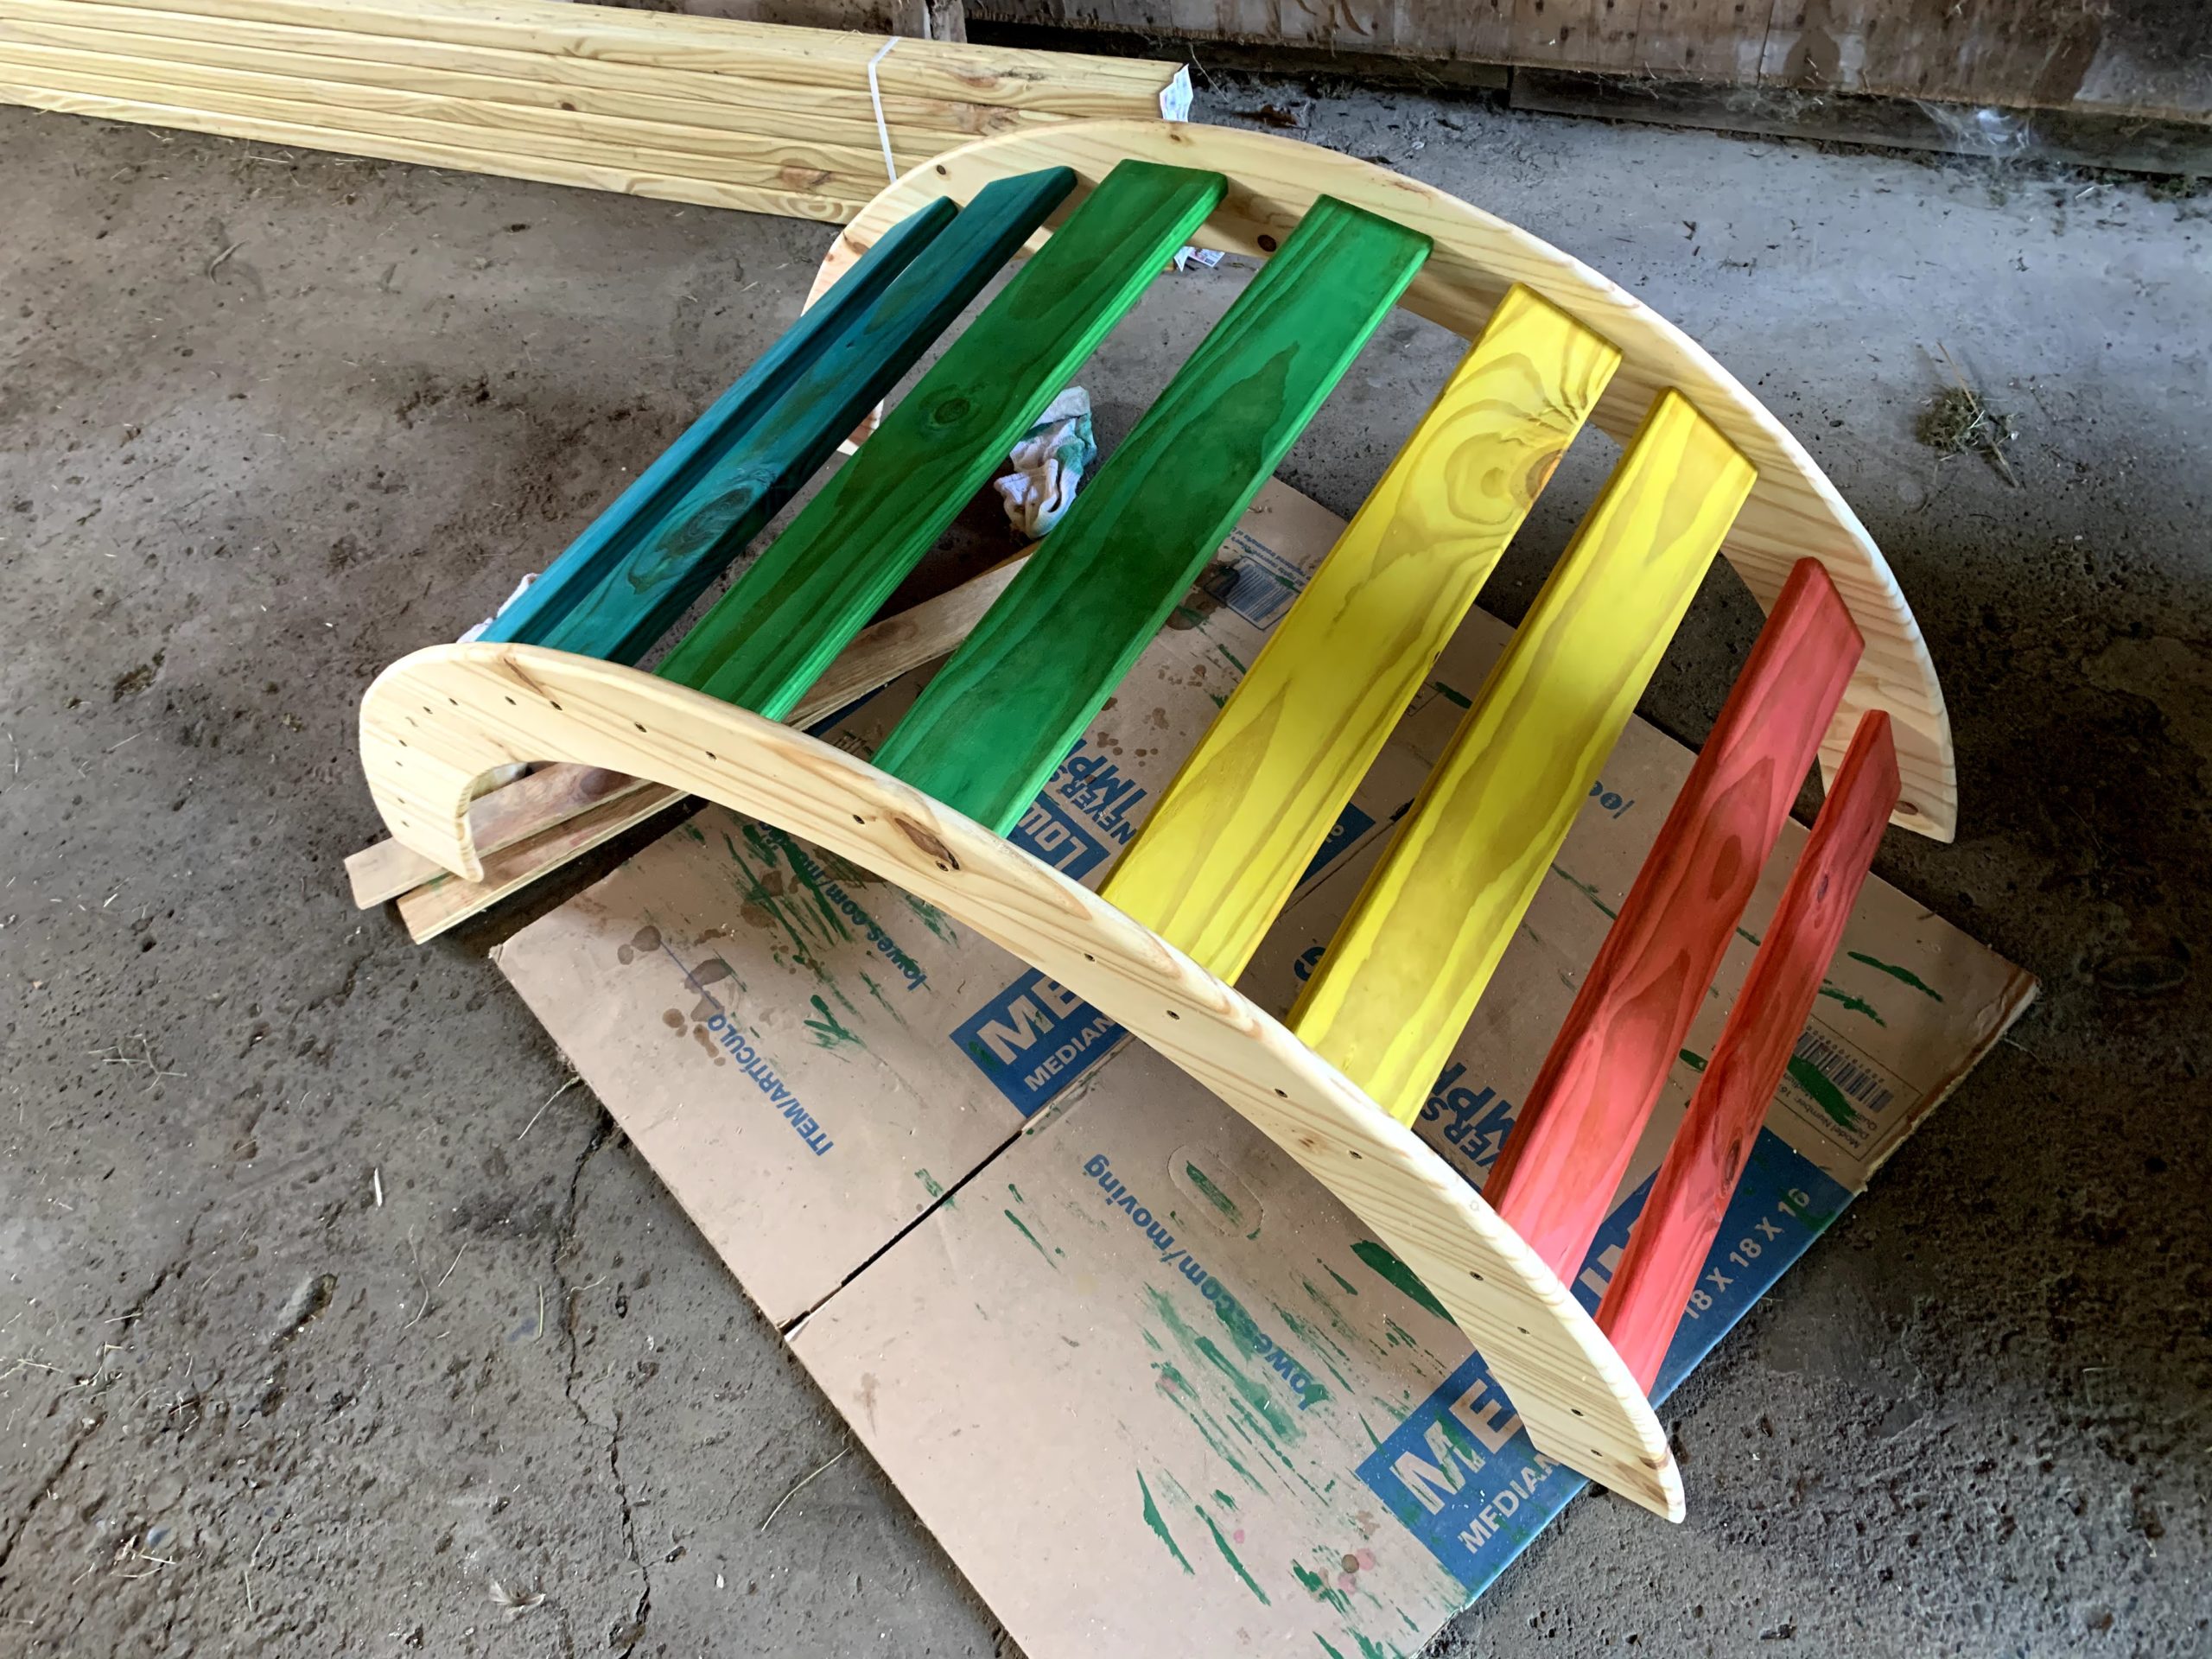
It turned out really nice. The colors are very bright and so far it seems very sturdy.